
Someone recently asked me what my workflow looked like on a daily basis. Instead of responding with a long comment, I wanted to write it up.

Here is what my development workflow (AKA DevOps) looks like on a site. And this would look different based on what host I am using. For example, in my opinion there are different workflows and DevOps based on the host. Here are the various types of different workflows:
- WP Engine
- Pantheon
- Azure Websites
- VPS/Dedicated Hosting
- Shared Hosting
Each of these require different DevOps because each has a different implementation. For example, with WP Engine you have two (2) remote branches (production & staging) to push. With Pantheon (and MultiDev enabled), you have your own branch, Dev, Test, and Live. With Azure Websites, you have unlimited deployment slots which integrate fantastically with Bitbucket and Github. With VPS or Dedicated Server hosting, you could have root access where you can create a development user and use SSH/WP-CLI and Git for development. With Shared Hosting, you usually have jailed access, which causes some consternation. However, there are some workarounds. With the later two, I typically will use DeployHQ or something similar to deploy my Git changes.
If you are a WordPress development company, I highly recommend WP Engine first. Otherwise, if you are a web development company, whether you use Drupal, WordPress, or Joomla, I recommend Pantheon as an agency. Both of these companies take great care into DevOps. Now, if you have someone who insists on the Microsoft stack, I do recommend Azure or Rackspace. However, Azure PaaS has phenomenal DevOps, second to none really.
The Setup
Since all these are different and I have been writing about how I created my site, I am going to share how I use Version Control with WP Engine. Assuming that the person has either their own WP Engine account (and I do not recommend using your own account for a variety of reasons), the fun starts! In the WordPress dashboard, go ahead and create the staging site. This will ensure that you have both a staging and production sites.
Next, in my Vagrant installation, I provision a local WP installation using VV via Git Bash (Git for Windows). I have made some changes to my VV (which I need to update my Github to demonstrate) which allows for setting defaults via one's SSH profile. Since I am a Genesis developer, my basic site has my Genesis Child Theme skeleton (called Arche), Genesis, and these plugins: Akismet (already installed for you), Gravity Forms, BackupBuddy, Soliloquy, DB Sync, Genesis Shortcodes, Jetpack, WordPress SEO (AKA Yoast SEO), and my development framework as a Must Use (wp-content/mu-plugins). I will be writing more about my development framework in the weeks to come. For anyone that does not use Vagrant there are a variety of options to use like Desktop Server.
While the local vagrant site is provisioning, I create a repository with Bitbucket.
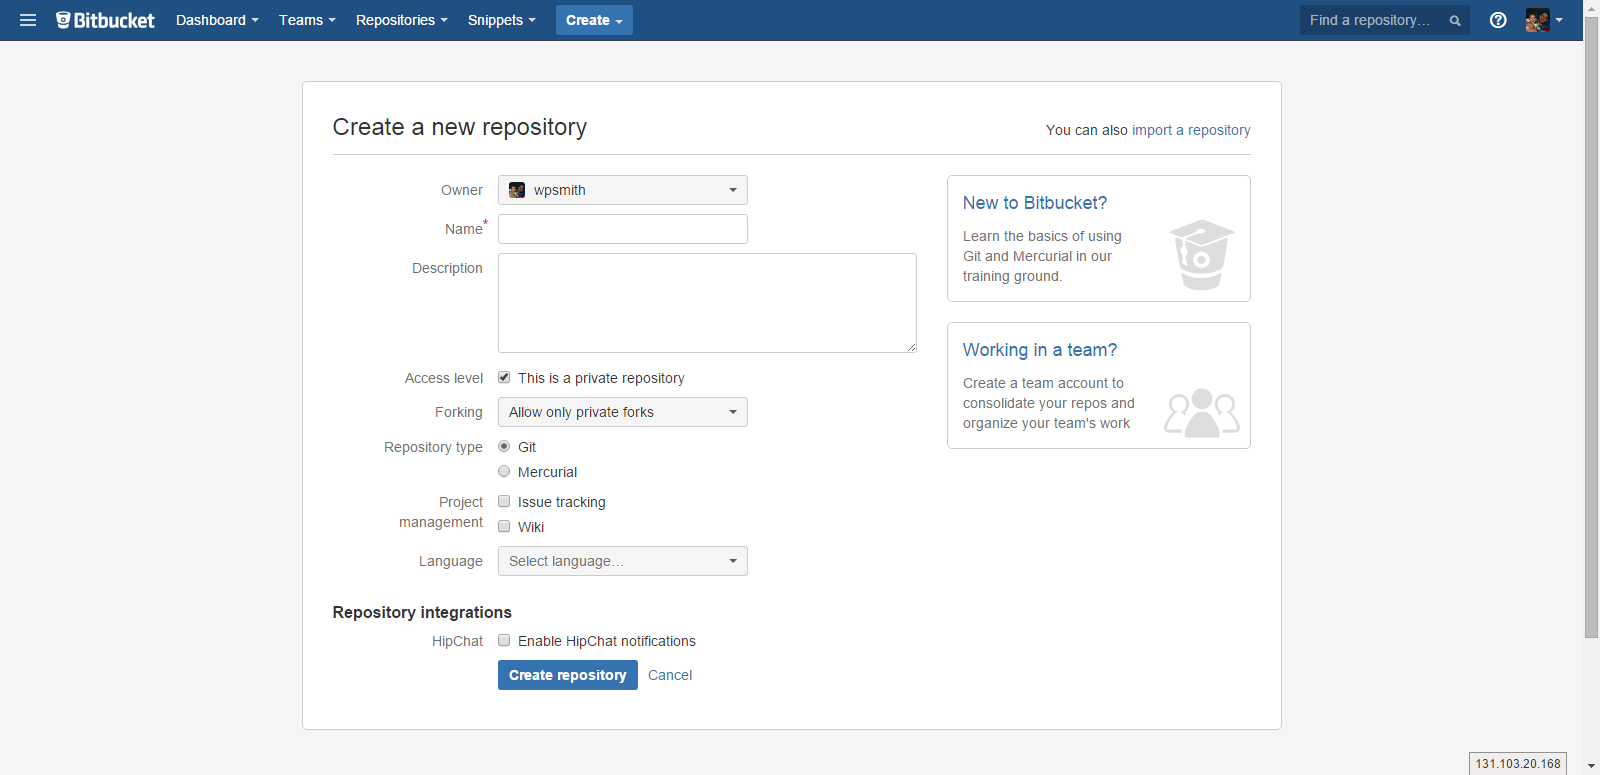
The reason I use Bitbucket is that it allows a free private account up to 5 members on a team. If you need, create new accounts for each client and add yourself as the primary team member and administrator.
Generally, then I have my environment setup. As a way of summary, here are the steps we have already taken:
- Create WP Engine account.
- Create WP Engine staging site from WordPress dashboard
- Create local development site
- Create Bitbucket repository
Next, I complete the setup of my local site.
- Initialize Git repository.
- Add Bitbucket remote repository (called
origin) - Add WP Engine staging remote repository (called
staging) - Add WP Engine production remote repository (called
production) - Check my Git profile to ensure that my email and key are autoloading
- Add my
.gitignore. I always include my.gitignorethat versions WordPress (here's a.gitignorethat does not). - Make my initial commit
- Setup PHPStorm & my GruntFile/GulpFile.
(Please note that in my vagrant auto site creation, I have automated the above. The name of the site [e.g., {SiteName}] also sets the Bitbucket repository (https://bitbucket.org/{YourUserName}/{SiteName}) and automatically adds all the remotes [WP Engine Remote (git@git.wpengine.com:production/{WPE-SiteSlug}.git)].)
Now, I am ready to write code.
The Workflow
Now that everything is set up, I get to work. I am going to speak very generally here because I have a post coming next week that explains this in more detail. (When I am developing alone, I tend to take some shortcuts unless I am developing on a high traffic site. So I am going to assume the high traffic site.)
At first, I will develop directly on the staging branch until I get to my first milestone or place where I allow the client to begin looking and reviewing the site. Once at that place, I begin feature development. I checkout a new branch, develop until the feature is complete, then merge that branch into my staging branch for review by the client. For example, let's assume that I have the site's home page, blog page, and basic inner pages complete. Now I need to add some sort of e-commerce, CRM integration, etc. Whatever feature I am working on, I create a new branch to create that feature.
As I develop, I commit on "minor" changes commenting on everything (though Nathan Rice and Gary Jones have often gotten on me for creating commits that are too large). So for example, in functions.php:
| add_theme_support( 'genesis-menus', array( | |
| 'primary' => __( 'Primary Navigation', CHILD_DOMAIN ), | |
| 'footer' => __( 'Footer Navigation', CHILD_DOMAIN ), | |
| ) ); |
I commit with a message like: "Add Genesis menus theme support". And so on. I keep my messages quite short so as not to slow down. Now, I will often make several local commits before pushing to origin and/or staging remotes.
When there are more than one people committing, there are extra steps of fetching and pulling to keep in sync with everyone. So then it looks more like this:
- Fetch
- Pull
- Merge locally
- Push origin
- Commit...commit...commit...
- Push origin
- Push staging
When doing feature development, it looks more like this:
- Fetch & Pull
- Merge locally
- Push origin
- Checkout new branch (e.g. feature-branch)
- Commit...commit...commit...
- Push origin
- Checkout staging
- Fetch & Pull
- Push origin
- Merge feature-branch into local staging branch
- Push origin
- Push staging
That seems like a lot of steps, but when compared to the alternative of using backups and FTP, I prefer it! You also can create .bashprofile aliases where some of these steps are combined into one step. And if you want, you can drop the origin (Bitbucket) part that I have when using WP Engine or Pantheon. I include this for my benefit and the client's benefit, which I explained in my last post, My Genesis Site: Using Version Control.
And finally, I am always asking others what they do, how they develop, and what their workflow and DevOps looks like. What does yours look like? What do you do that is different? How would you improve my workflow?