
As I have mentioned in my introductory two posts, Using Version Control and My Development Workflow, I use Git in my development. This post will focus on using Github for Windows GUI with lots (maybe too many) images (I prefer images because I am typically too impatient to watch videos). Github for Desktop is the first of three posts that I will walk-through and demonstrate. I personally have never used Github for Desktop but I know a few people that do. The primary reasons I never used it are twofold: (1.) by default the repositories are public and (2.) I was too cheap to pay for the private repositories.
As I mentioned and in way of review, I am going to share how to use Git with 3 different methods:
Summary
To use Github for Deskotp, we will take these steps:
- Install Github for Desktop
- Setup Github for Desktop
- Create the Github Repository (Repo)
- Add WordPress
- Remove Default WordPress Themes (this step is only for Genesis developers)
- Add Genesis & Genesis Sample to the Github Repo
- Begin Development with Git
- Change Genesis Constants (
functions.php) - Publish Github Repo
- Change Theme Details (
style.css) - Sync Github Repo
- Change Genesis Constants (
- Reverting with Github
Using Github for Desktop
1. Install Github for Desktop
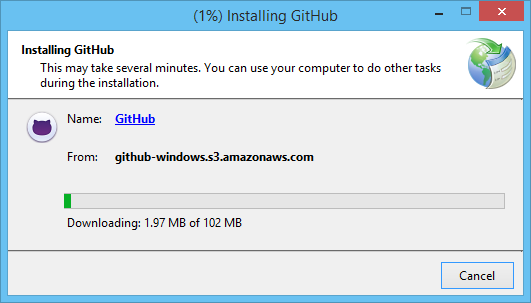
To install Github for desktop, download the installation file from Github. On the Security Warning, click Install. This will download the full installation file and install the program.

After installing the program, you will need to setup Github for Desktop.
2. Setup Github for Desktop
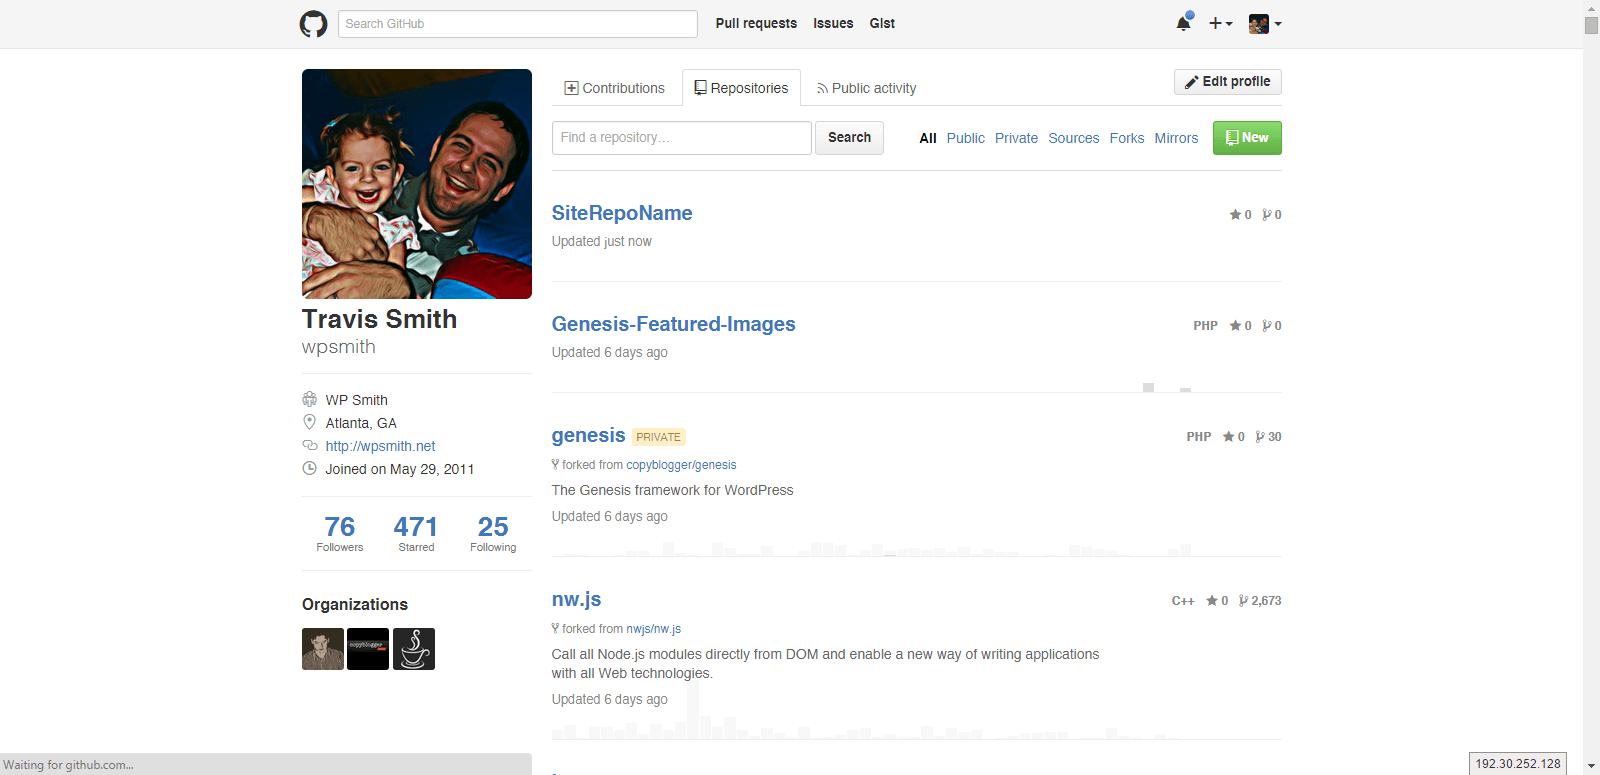
To setup Github for Desktop, you first need to enter your Github credentials. If you have not already, create a Github account. Even if you do not plan to use Github for your site development, it is good to have a Github account for entering issues with plugins and various other libraries and repositories that you may use. If you already have a Github account, skip to Step 2.3: Complete Setup.


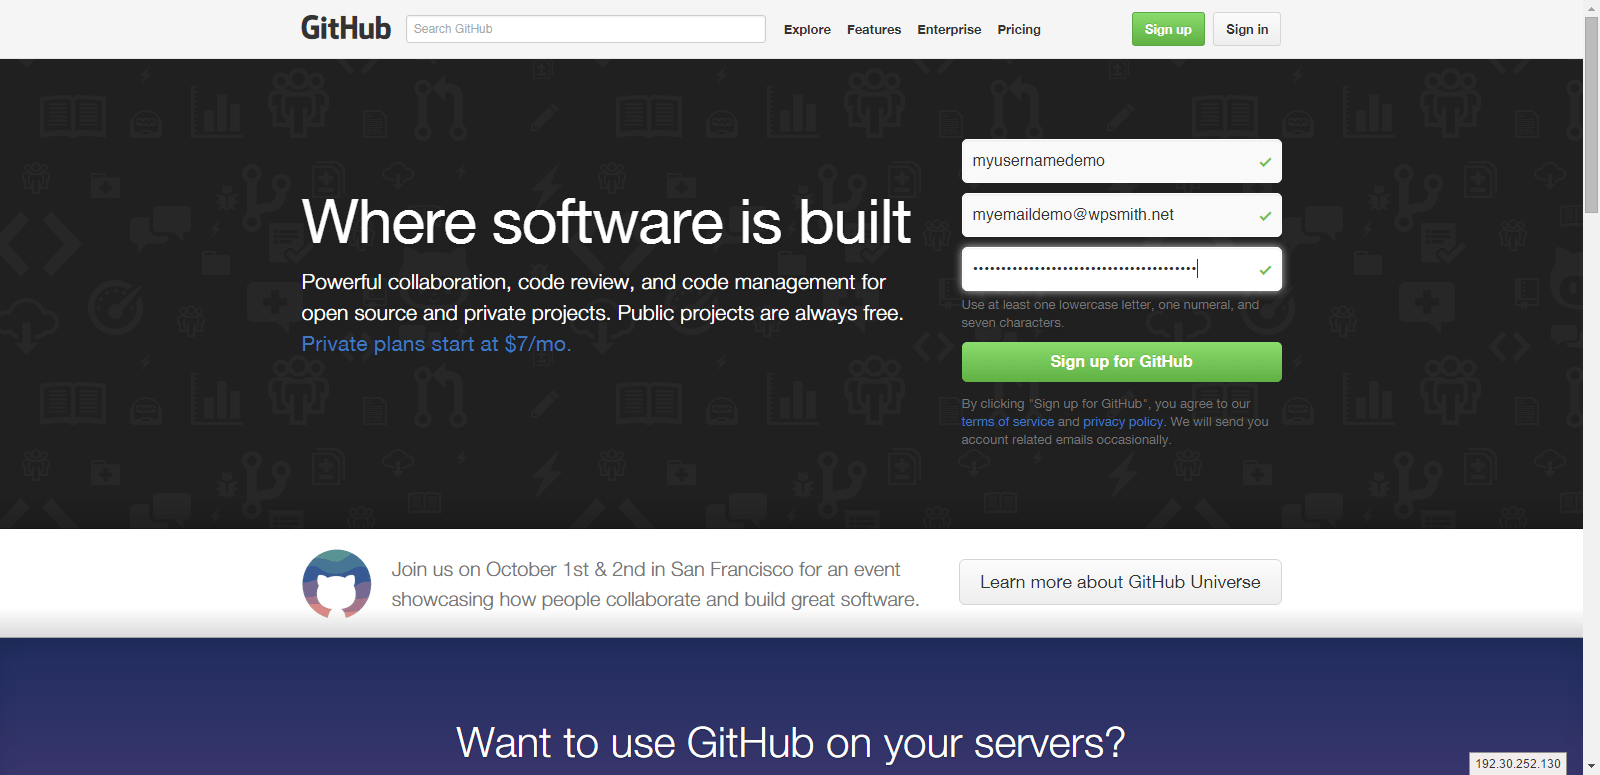
2.1 Create Github Account
To create a Github account, go to Github:
- Enter a username
- Enter your email
- Create your password
- Click Sign up for Github
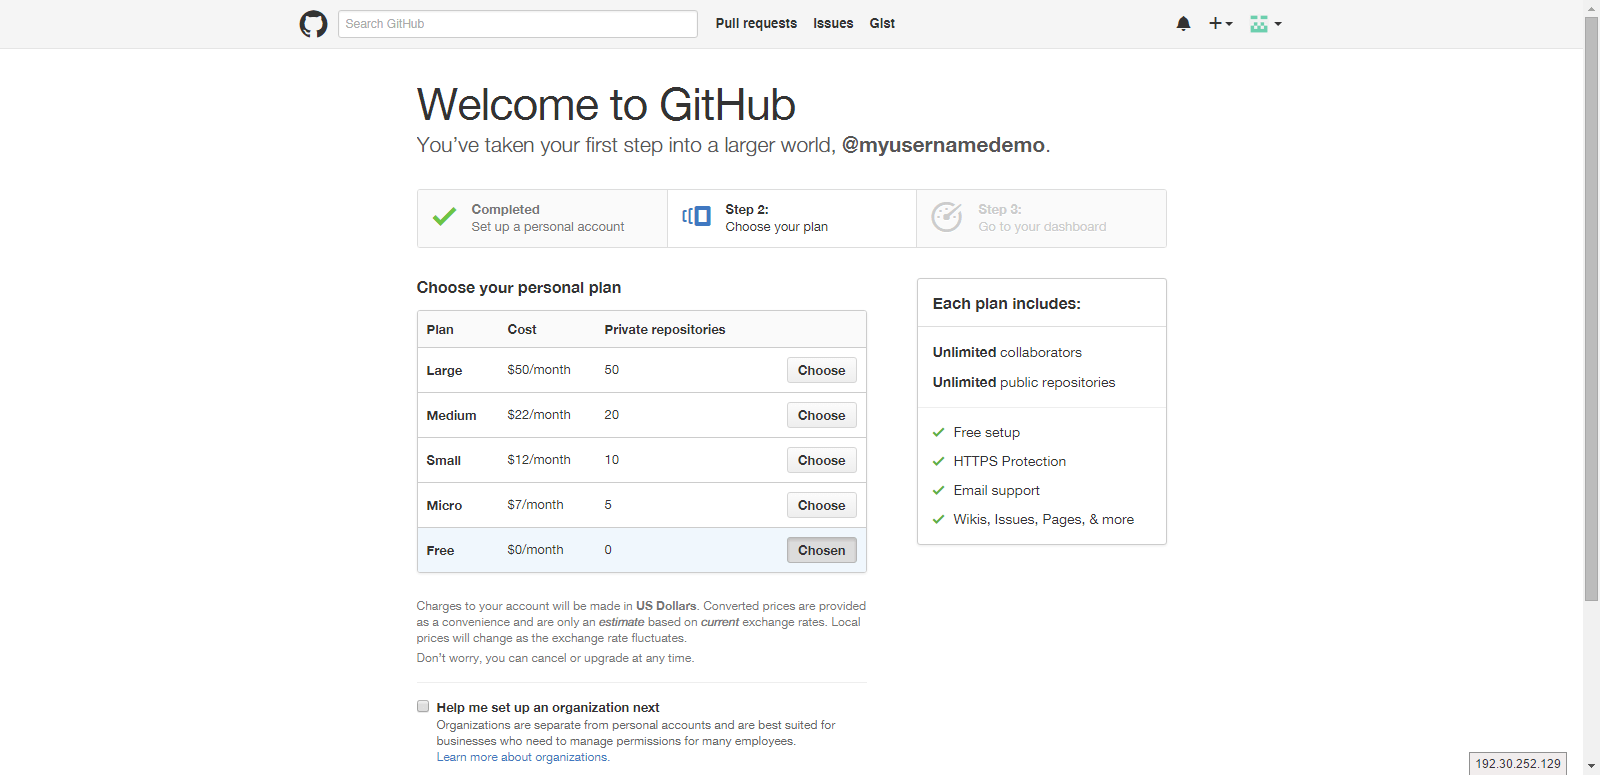
2.2 Select Plan
After the intial form, you will be asked to select a plan. If you want to use the free plan, just click on Finish sign up.

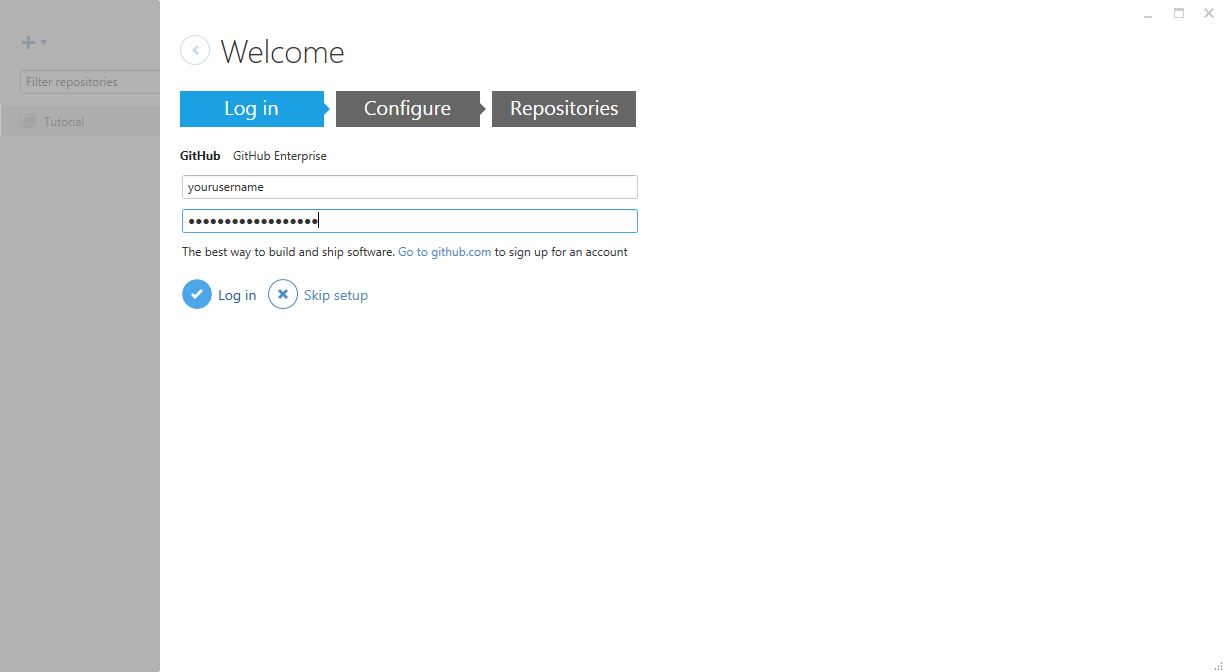
2.3 Complete Setup
The first time you run Github, you will need to setup Github for Desktop.
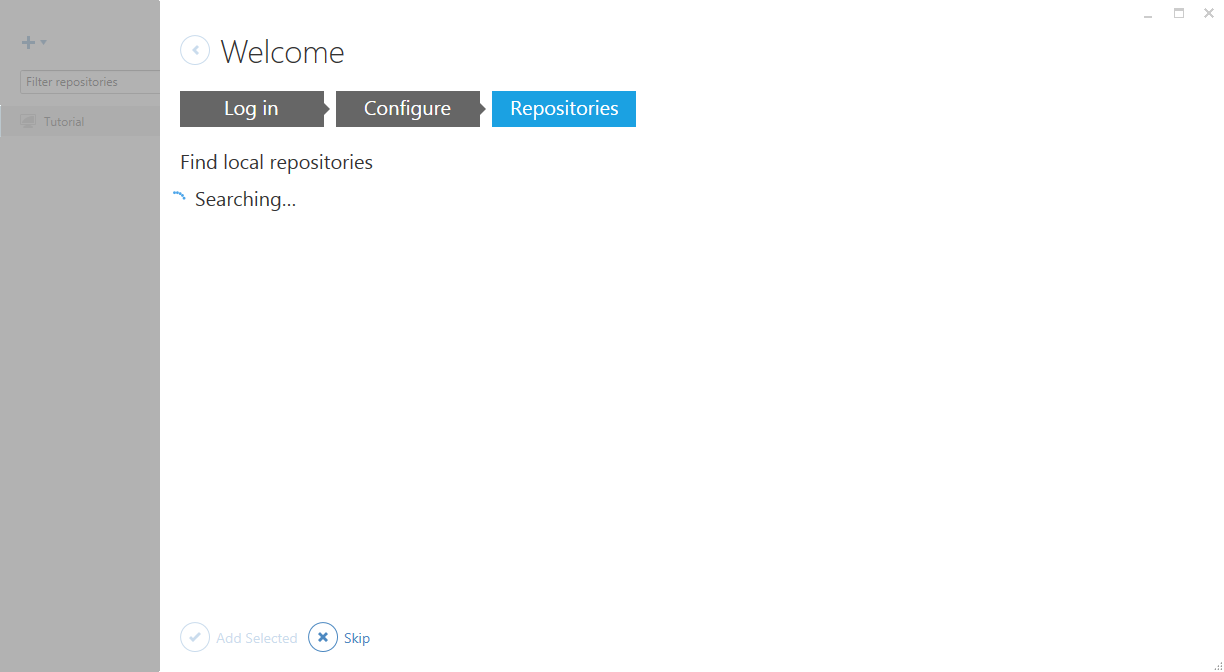
- Login: To create the Github repo, enter your Github account information and click on Log in.
- Configure: Here you will enter your name (public) and email (public) and click on Continue.
- Then it will search for your repositories. Either wait for it or click on Skip, which is what I did.
Then you will be brought to the tutorial screen, and now you are ready to create the Github Repository.
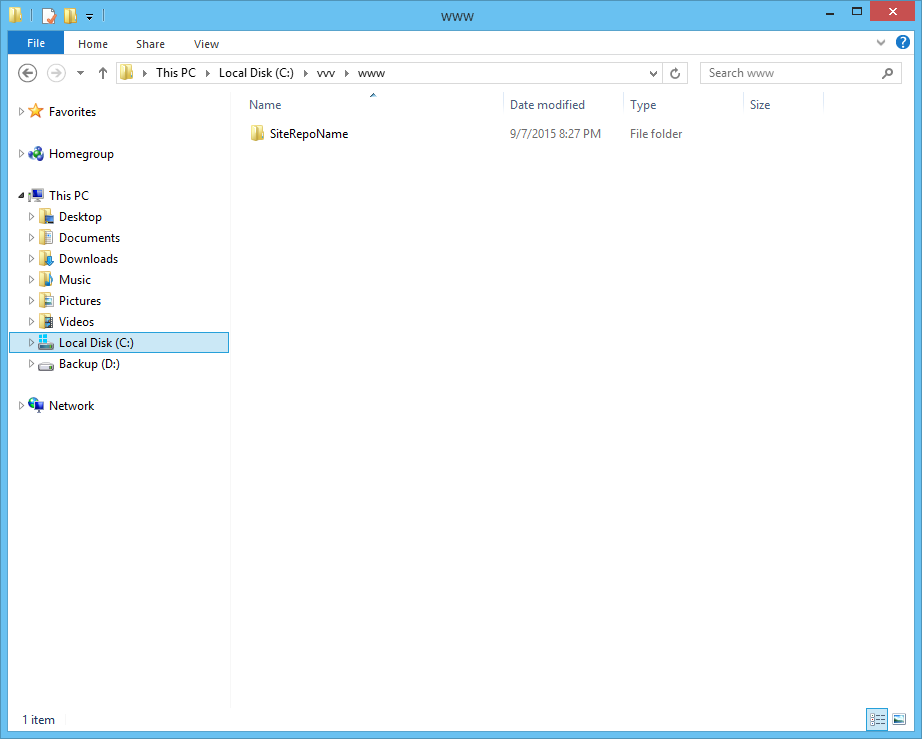
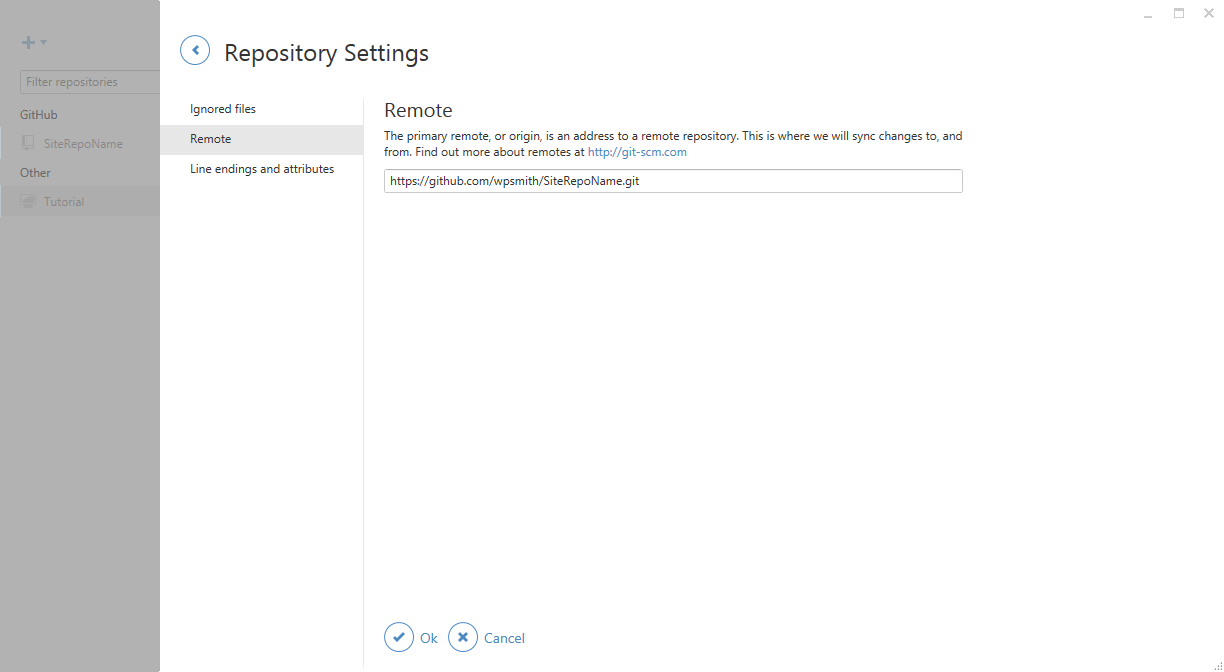
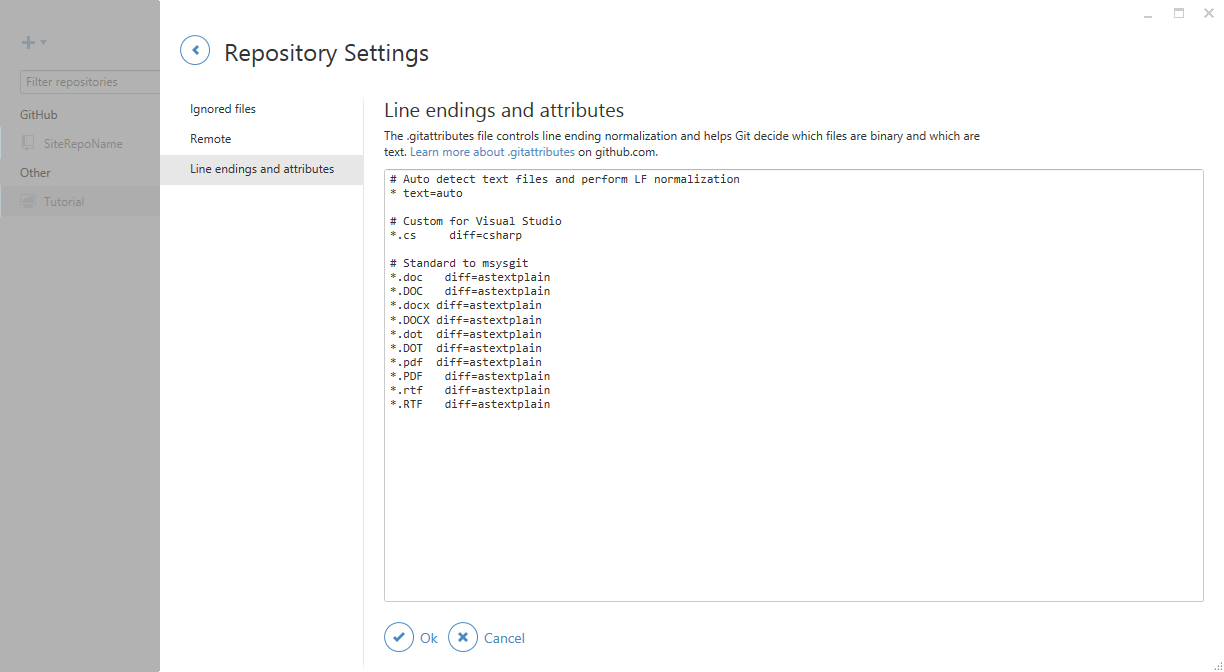
3. Create the Github Repository (Repo)
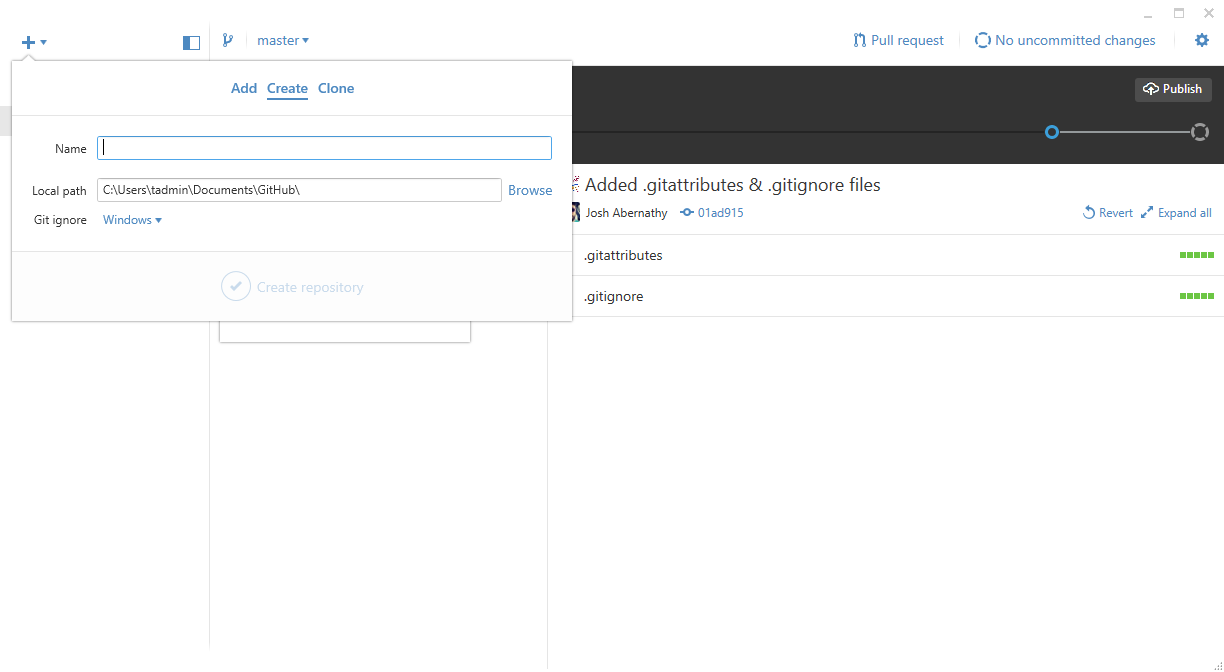
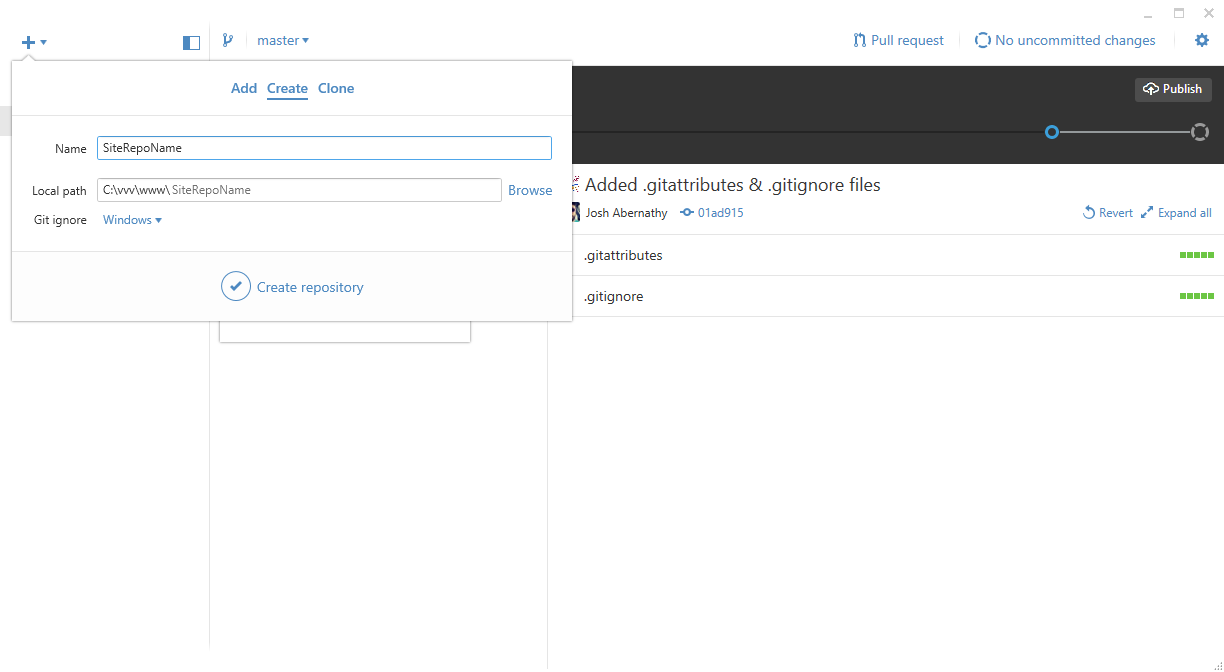
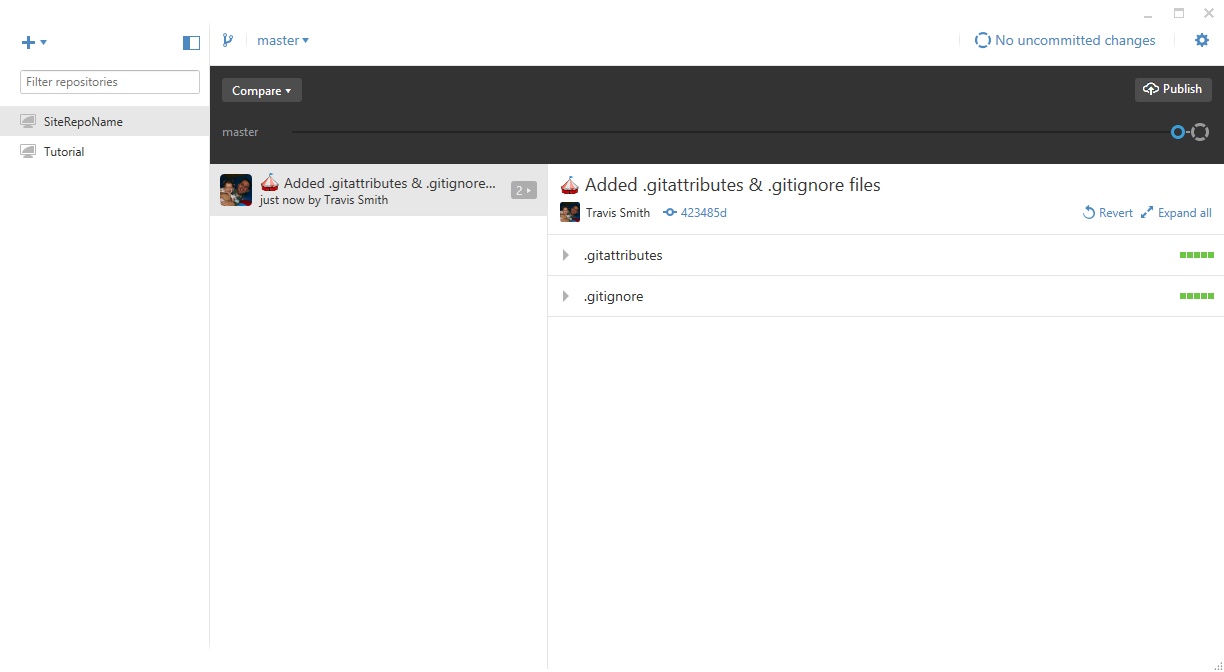
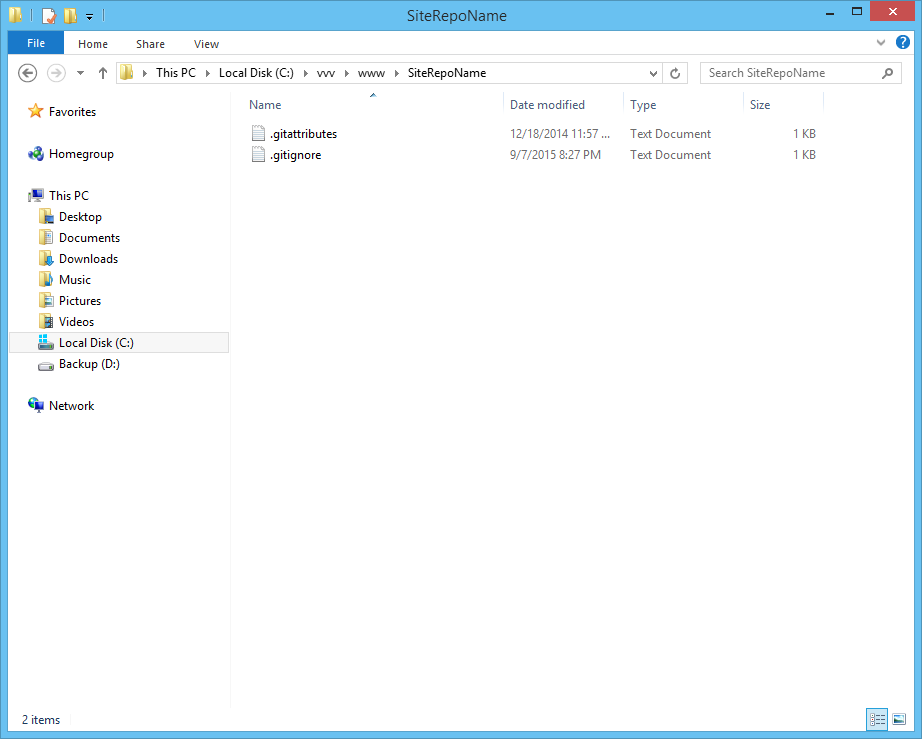
This will create .gitattributes (which you should not worry about at this time) and .gitignore.
| # Windows image file caches | |
| Thumbs.db | |
| ehthumbs.db | |
| # Folder config file | |
| Desktop.ini | |
| # Recycle Bin used on file shares | |
| $RECYCLE.BIN/ | |
| # Windows Installer files | |
| *.cab | |
| *.msi | |
| *.msm | |
| *.msp | |
| # Windows shortcuts | |
| *.lnk | |
| # ========================= | |
| # Operating System Files | |
| # ========================= | |
| # OSX | |
| # ========================= | |
| .DS_Store | |
| .AppleDouble | |
| .LSOverride | |
| # Thumbnails | |
| ._* | |
| # Files that might appear on external disk | |
| .Spotlight-V100 | |
| .Trashes | |
| # Directories potentially created on remote AFP share | |
| .AppleDB | |
| .AppleDesktop | |
| Network Trash Folder | |
| Temporary Items | |
| .apdisk |
If you would like, please feel free to replace/merge the .gitignore with one of the WordPress .gitignore files (
.gitignore versions WordPress, .gitignore does not versions WordPress)).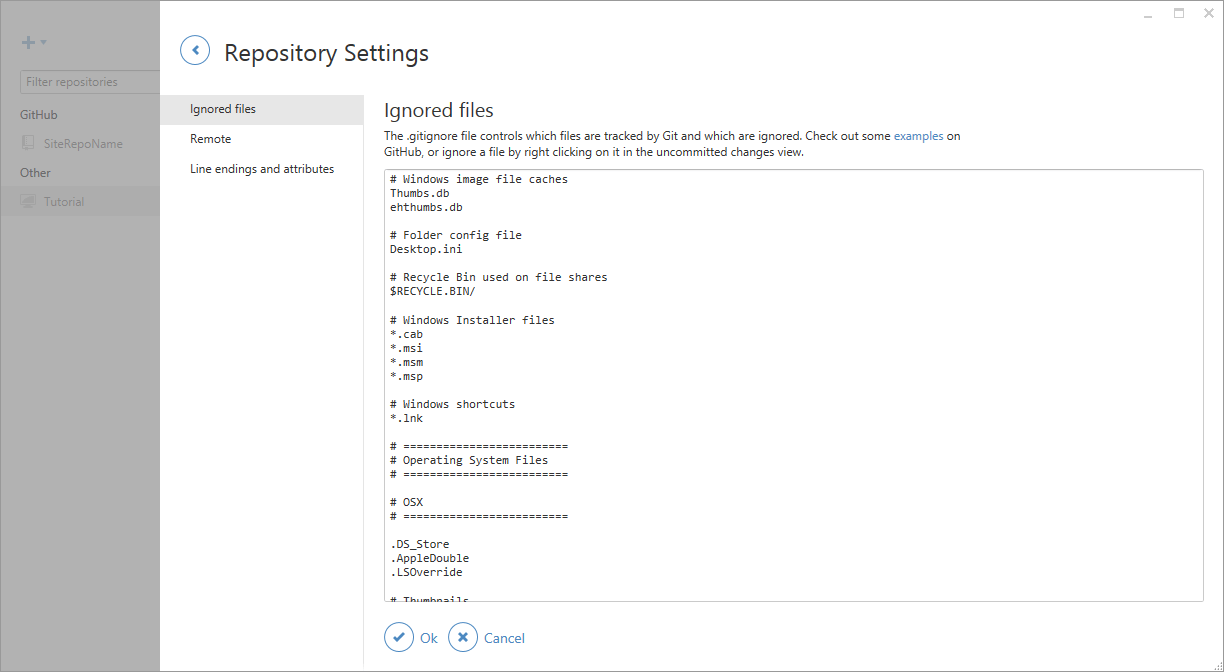
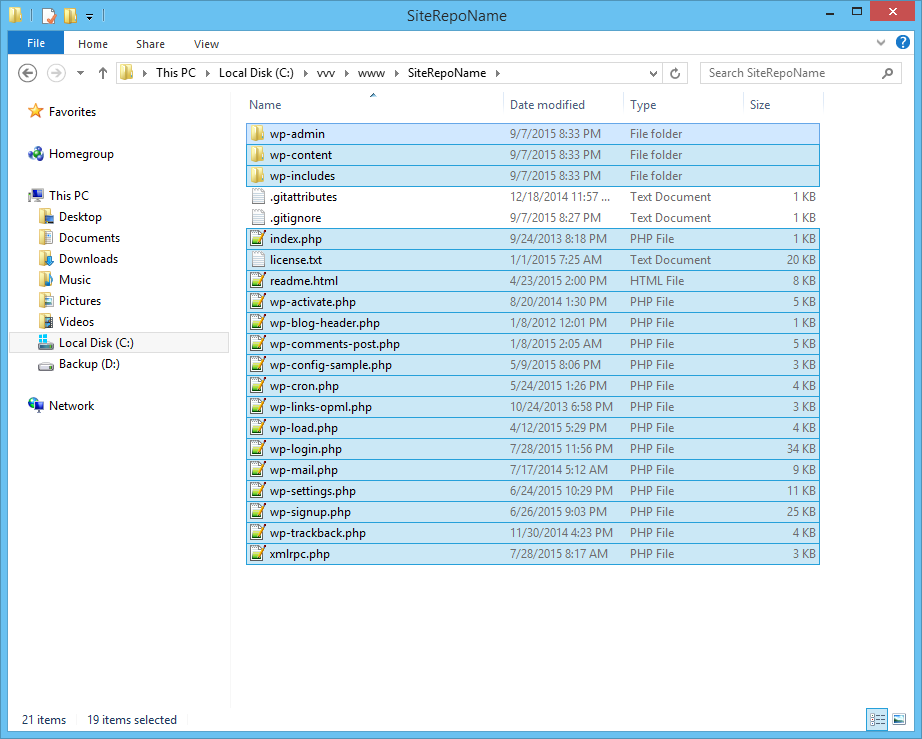
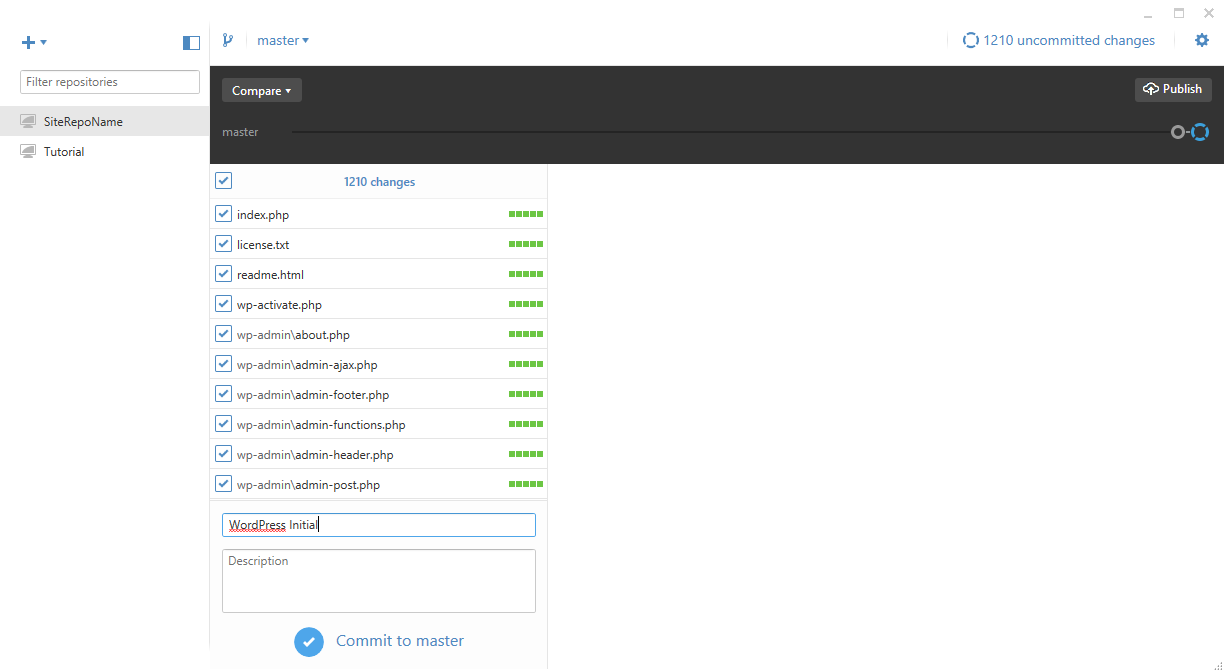
4. Add WordPress to the Github Repo
Next you would either clone WordPress from Github, download it from WordPress.org, check it out of the WordPress SVN, or ideally use your own copy with your default themes and plugins already packaged with it.
These next two steps are for Genesis developers specifically where we will remove the default WordPress themes and add the Genesis themes.
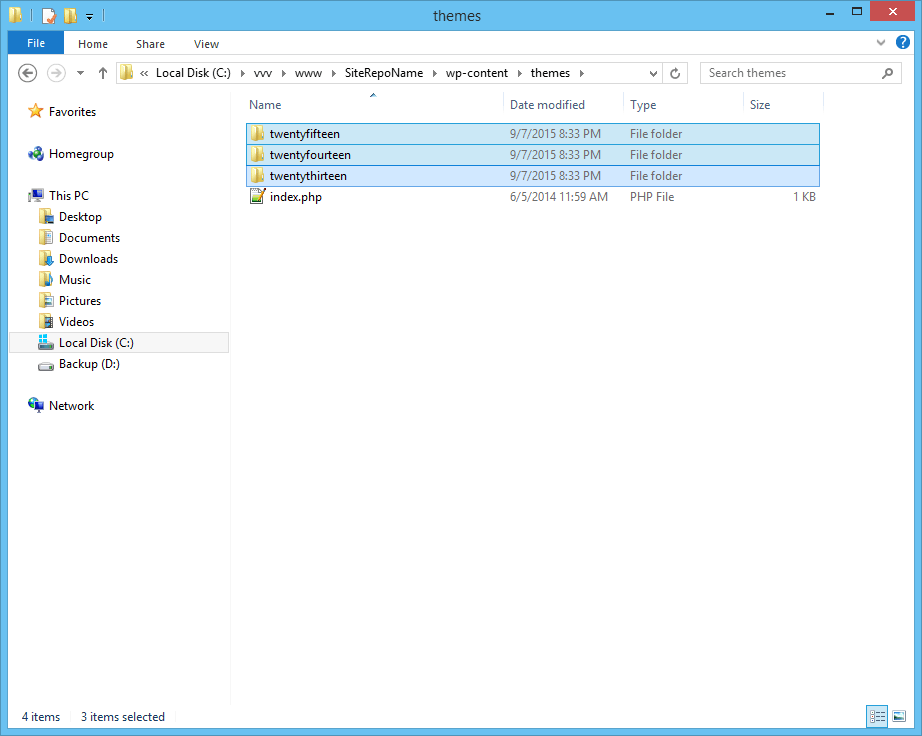
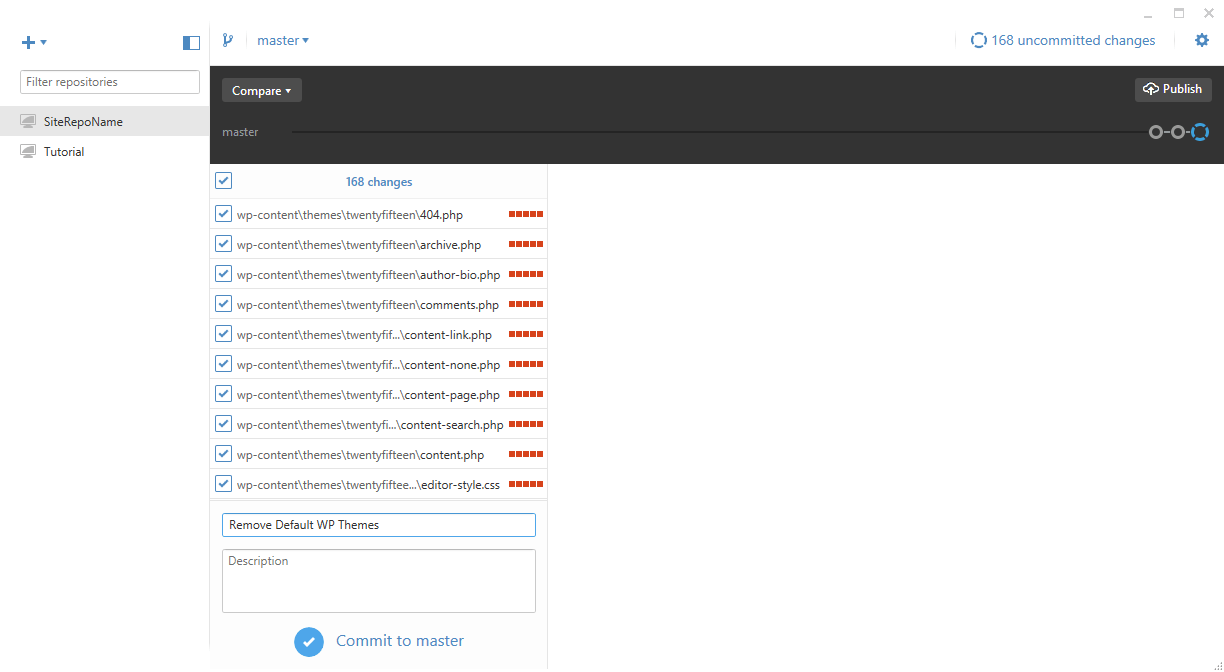
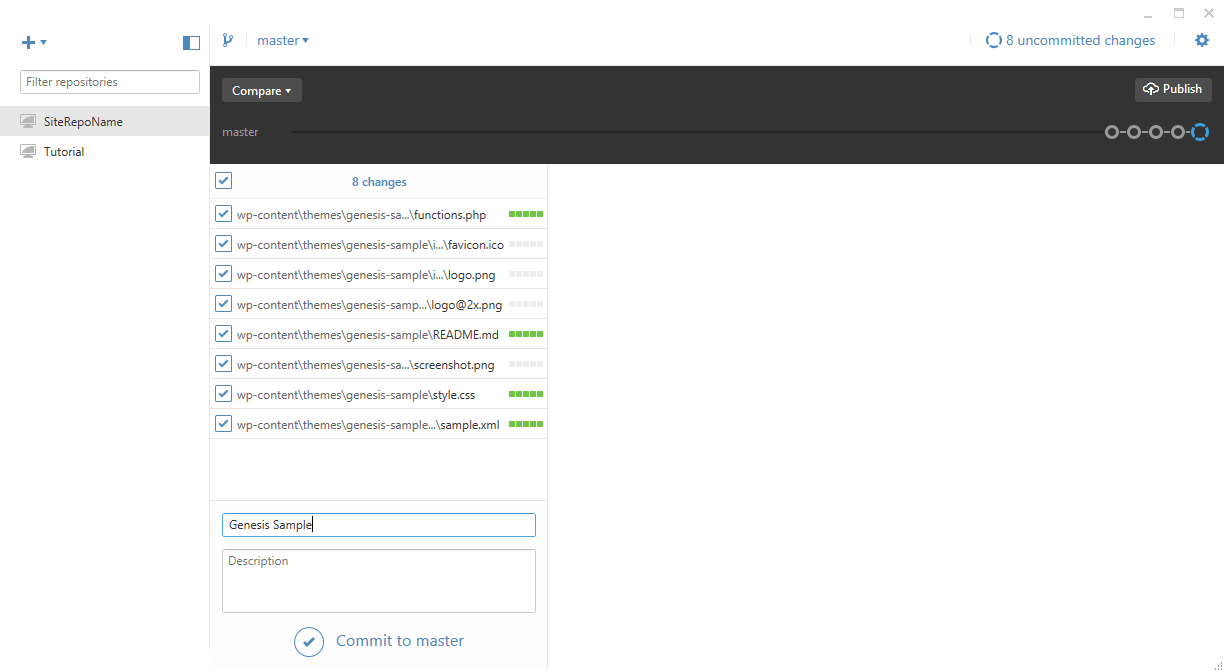
5. Remove the Default WP Themes from the Github Repo
If you do not have a pre-packaged WordPress with Genesis and your child theme, then you will want to remove the WordPress default themes.
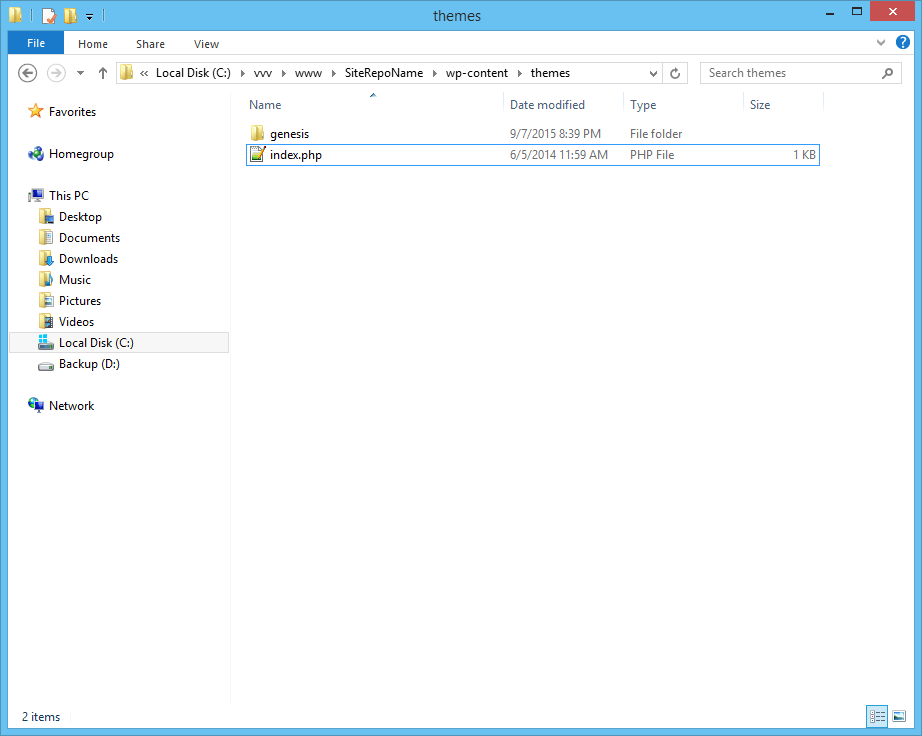
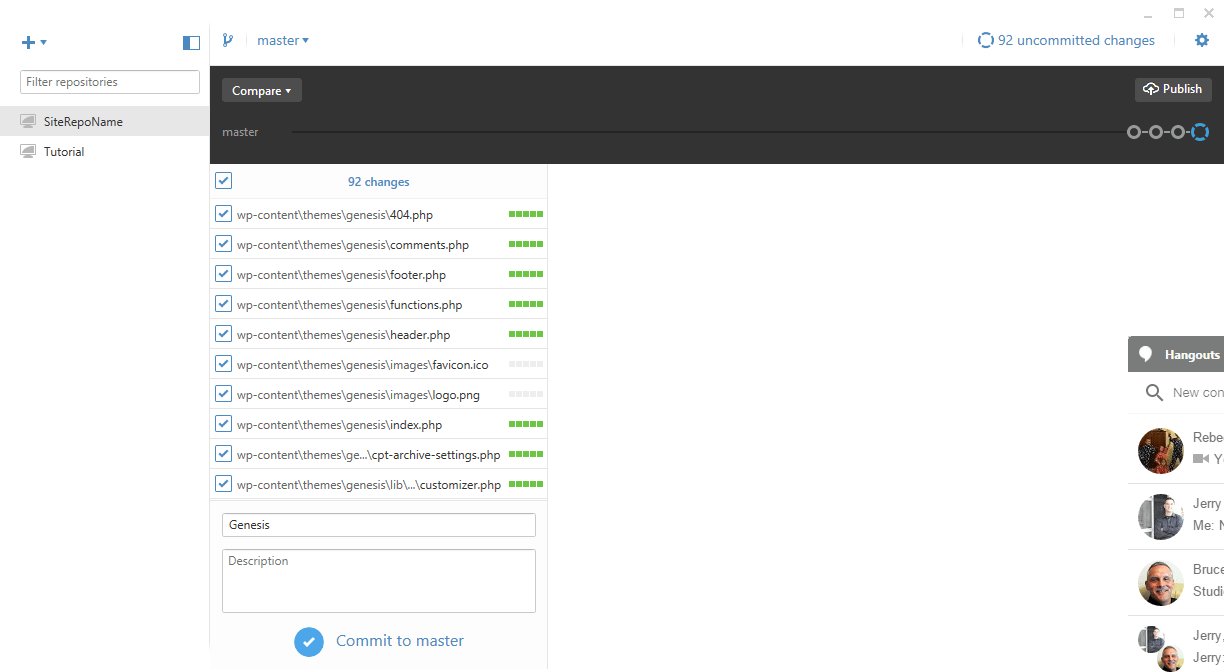
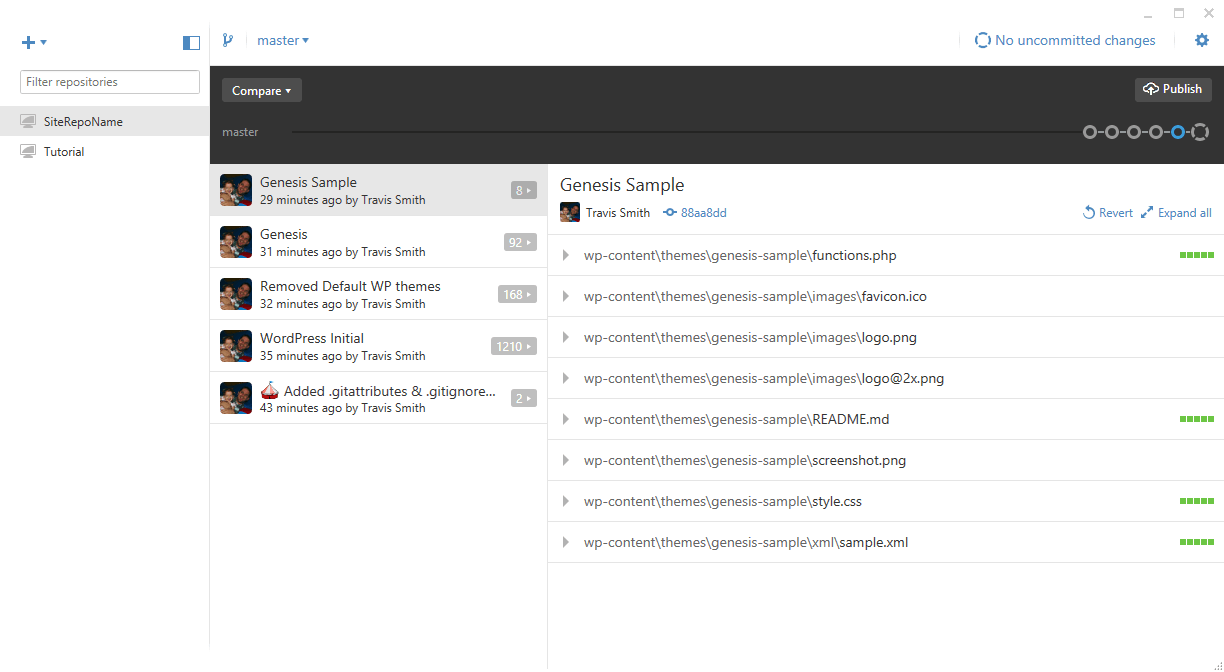
6. Add Genesis & Genesis Sample to the Github Repo
Next we want to add our Genesis theme and our default Genesis child theme, in this case, the Genesis Sample.

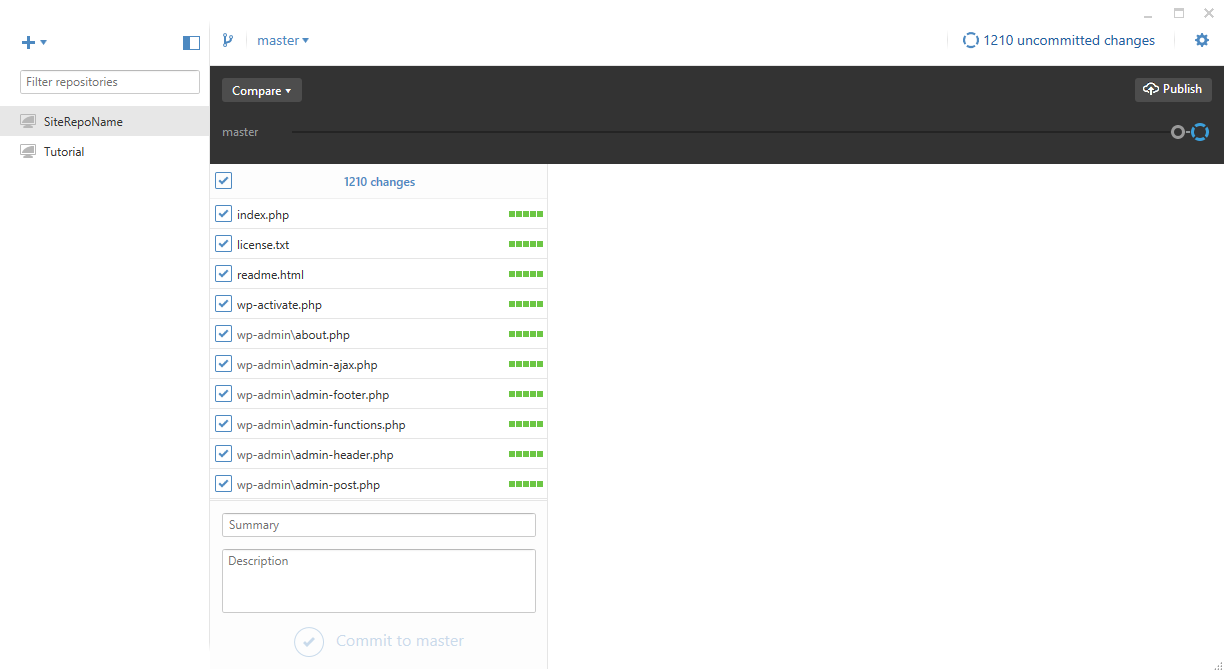
7. Begin Development
Now, we are ready to begin development. To begin with, we have this functions.php file.
| <?php | |
| //* Start the engine | |
| include_once( get_template_directory() . '/lib/init.php' ); | |
| //* Child theme (do not remove) | |
| define( 'CHILD_THEME_NAME', 'Genesis Sample Theme' ); | |
| define( 'CHILD_THEME_URL', 'http://www.studiopress.com/' ); | |
| define( 'CHILD_THEME_VERSION', '2.1.2' ); | |
| //* Enqueue Google Fonts | |
| add_action( 'wp_enqueue_scripts', 'genesis_sample_google_fonts' ); | |
| function genesis_sample_google_fonts() { | |
| wp_enqueue_style( 'google-fonts', '//fonts.googleapis.com/css?family=Lato:300,400,700', array(), CHILD_THEME_VERSION ); | |
| } | |
| //* Add HTML5 markup structure | |
| add_theme_support( 'html5', array( 'search-form', 'comment-form', 'comment-list' ) ); | |
| //* Add viewport meta tag for mobile browsers | |
| add_theme_support( 'genesis-responsive-viewport' ); | |
| //* Add support for custom background | |
| add_theme_support( 'custom-background' ); | |
| //* Add support for 3-column footer widgets | |
| add_theme_support( 'genesis-footer-widgets', 3 ); |
Now, we want to make a few modifications:
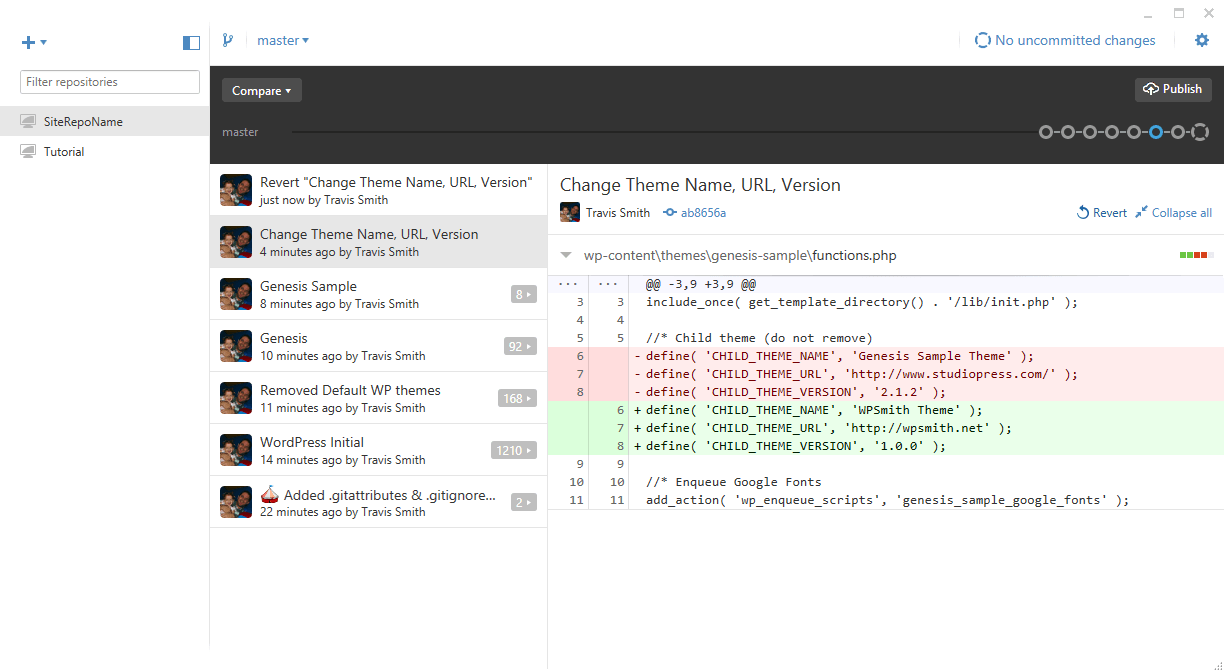
7.1 Change Genesis Constants
The first thing I usually do is change my constants.
| //* Child theme (do not remove) | |
| define( 'CHILD_THEME_NAME', 'WPSmith Theme' ); | |
| define( 'CHILD_THEME_URL', 'http://wpsmith.net' ); | |
| define( 'CHILD_THEME_VERSION', '1.0.0' ); |


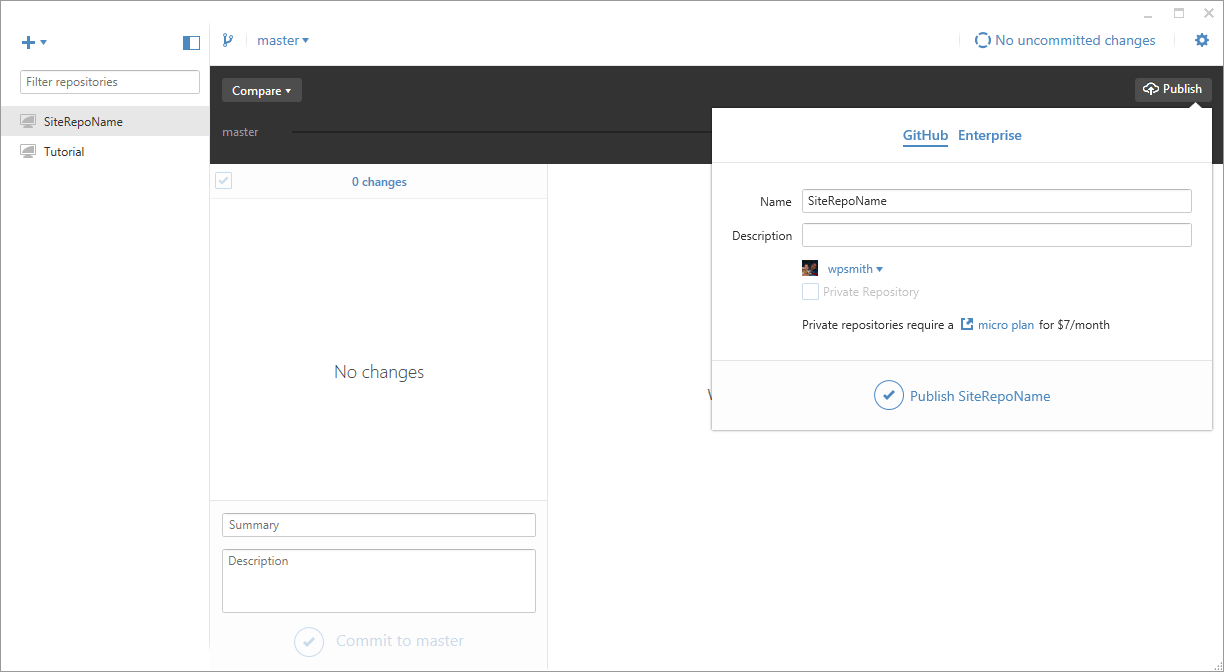
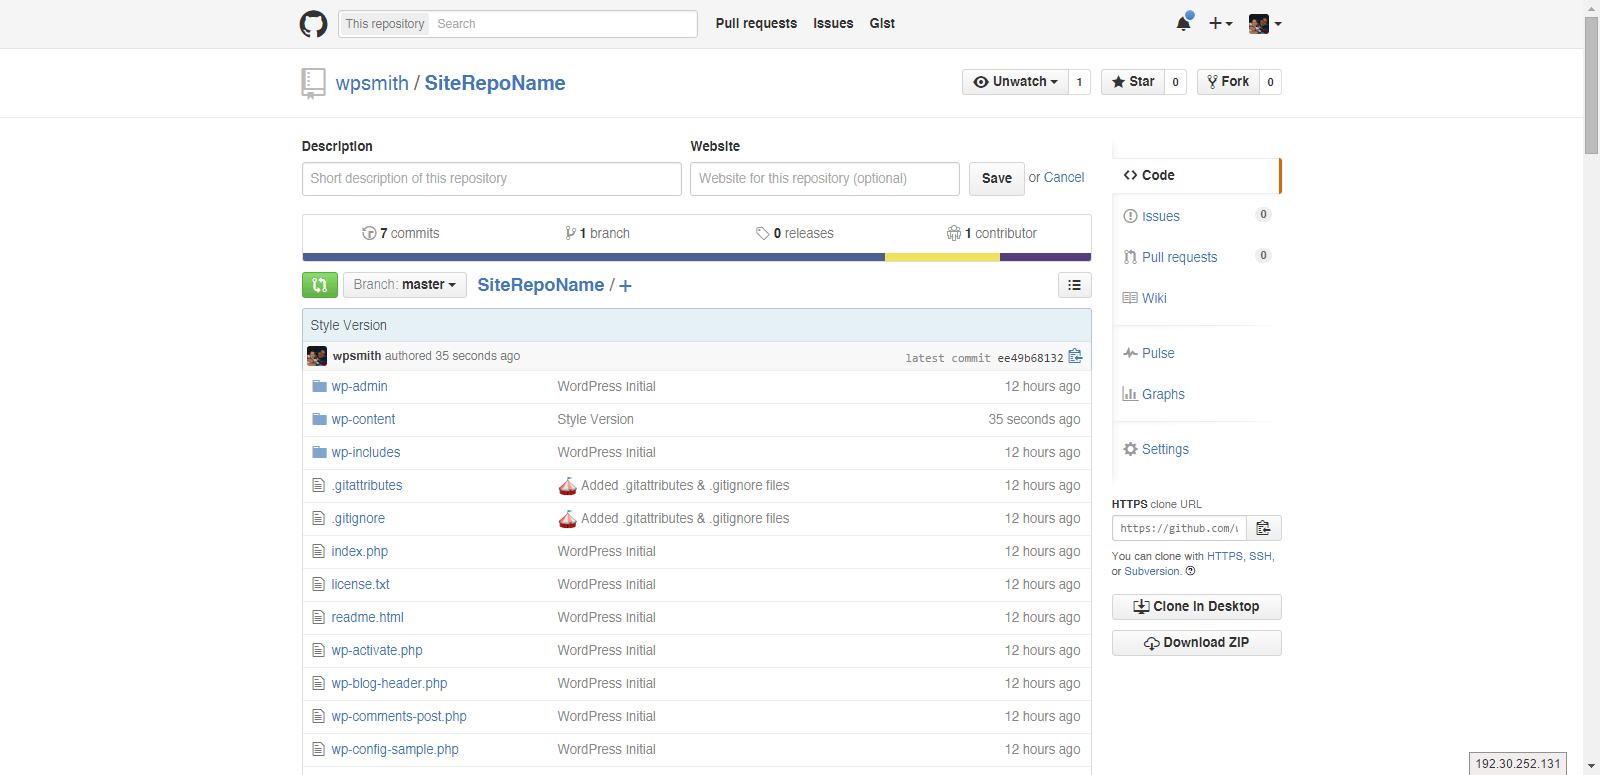
7.2 Publish the Github Repo
This is usually when I would publish the repository with Github. Now publishing the git repository in Github only creates the repository. It does not push the existing files or commits. This can be done earlier, but I tend to hold this off until this point. Sometimes I would do it before the Genesis constants change, sometimes much after. It really depends on you.
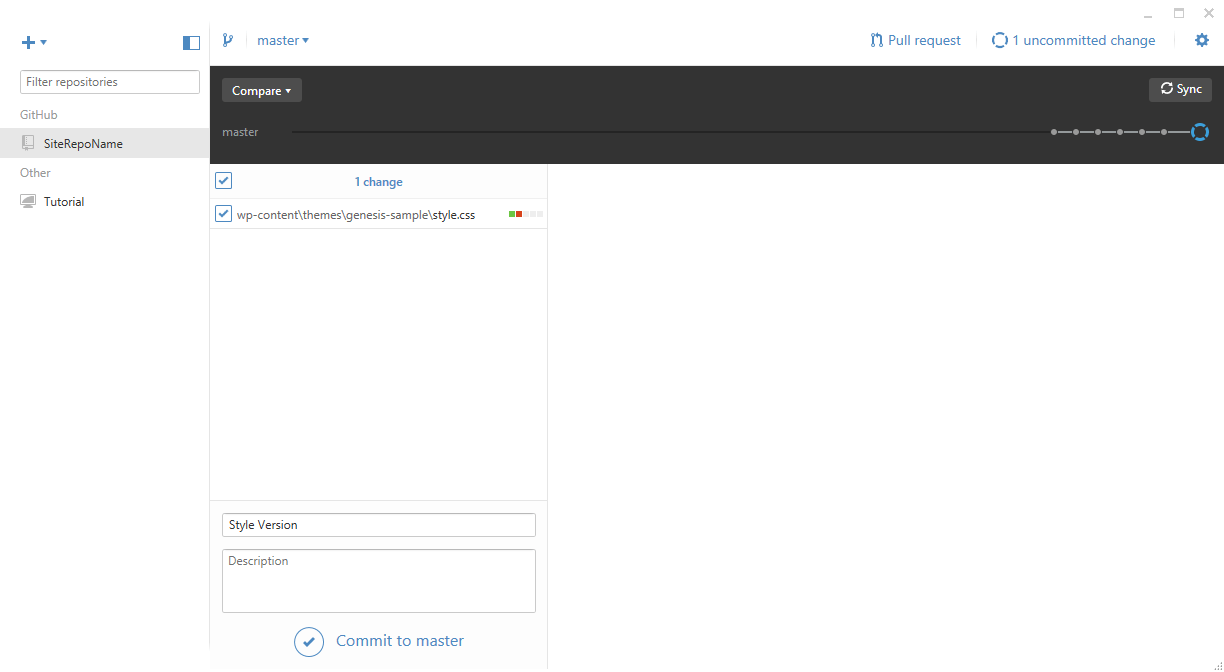
7.3 Change style.css
Next, I change my style.css to match. At first, I have this with my CSS:
| /* # Genesis Sample Child Theme | |
| Theme Name: Genesis Sample Theme | |
| Theme URI: http://my.studiopress.com/themes/genesis/ | |
| Description: This is the sample theme created for the Genesis Framework. | |
| Author: StudioPress | |
| Author URI: http://www.studiopress.com/ | |
| Template: genesis | |
| Template Version: 2.1.2 | |
| Tags: black, orange, white, one-column, two-columns, three-columns, left-sidebar, right-sidebar, responsive-layout, custom-menu, full-width-template, rtl-language-support, sticky-post, theme-options, threaded-comments, translation-ready | |
| License: GPL-2.0+ | |
| License URI: http://www.gnu.org/licenses/gpl-2.0.html | |
| */ |
After personalizing style.css, I now have this:
| /* # WP Smith | |
| Theme Name: WP Smith | |
| Theme URI: http://wpsmith.net/ | |
| Description: Sample Child Theme Git Process. | |
| Author: WP Smith | |
| Author URI: http://wpsmith.net/ | |
| Template: genesis | |
| Template Version: 1.0.0 | |
| Tags: black, orange, white, one-column, two-columns, three-columns, left-sidebar, right-sidebar, responsive-layout, custom-menu, full-width-template, rtl-language-support, sticky-post, theme-options, threaded-comments, translation-ready | |
| License: GPL-2.0+ | |
| License URI: http://www.gnu.org/licenses/gpl-2.0.html | |
| */ |
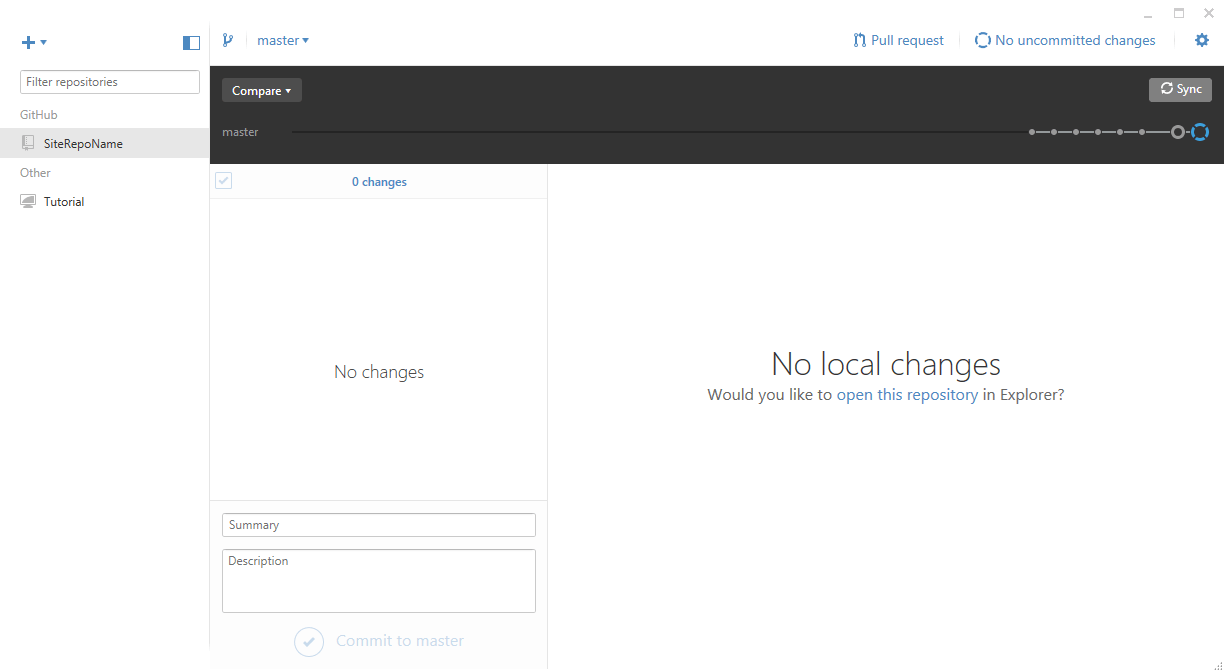
7.4 Sync the Github Repo
Then, I commit those changes and sync the repository.

So now you should be familiar with basic Github for Desktop usage. Next, I will briefly show how to revert files.
Reverting with Github
Here is how you can revert changes and track those changes with Git commits. Click on the Revert at the top right.
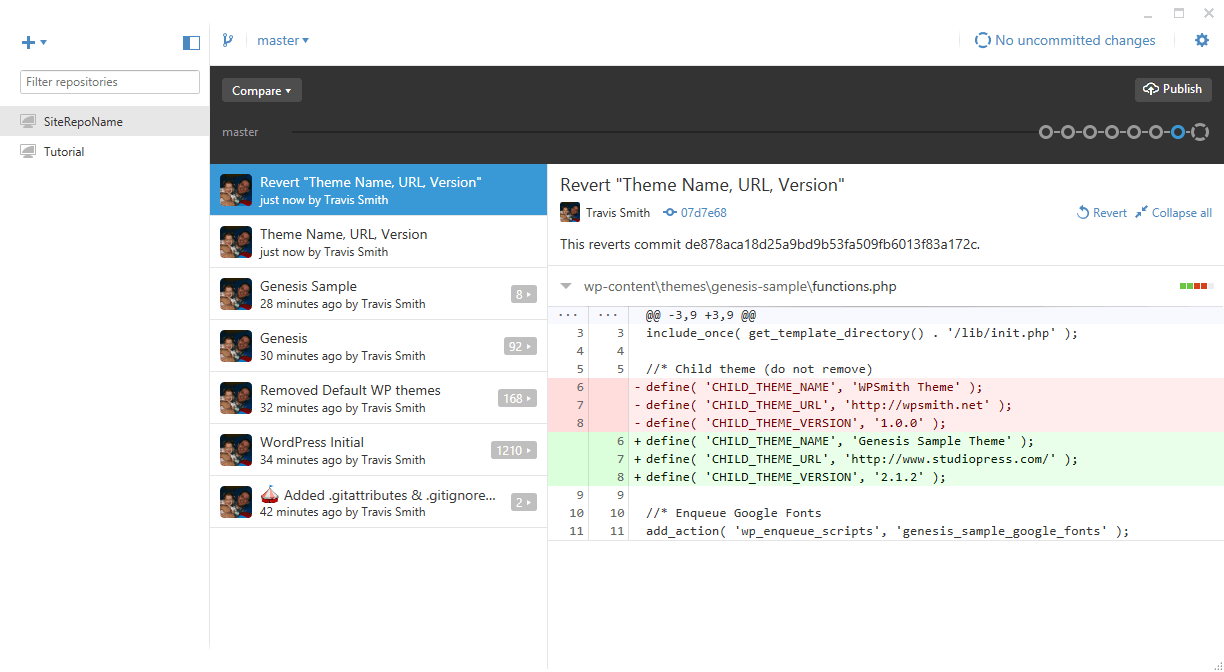
Here is how you can revert changes and not track those changes with Git. Click the gear/cog icon at the top right and click on "Undo most recent commit"

Conclusion
We have reviewed general usage of Github for Desktop. For your convenience, this is what we covered:
- Install Github for Desktop
- Setup Github for Desktop
- Create the Github Repository (Repo)
- Add WordPress
- Remove Default WordPress Themes (this step is only for Genesis developers)
- Add Genesis & Genesis Sample to the Github Repo
- Begin Development with Git
- Change Genesis Constants (
functions.php) - Publish Github Repo
- Change Theme Details (
style.css) - Sync Github Repo
- Change Genesis Constants (
- Reverting with Github