WP Smith

Creating WordPress & Genesis Websites Since 2010

  • Home
  • About
  • Services
  • Blog
  • Contact

Sep 10 2015

Using Git for Beginners: Github for Desktop

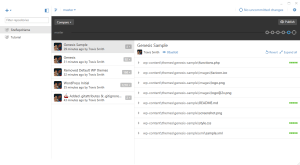
As I have mentioned in my introductory two posts, Using Version Control and My Development Workflow, I use Git in my development. This post will focus on using Github for Windows GUI with lots (maybe too many) images (I prefer images because I am typically too impatient to watch videos). Github for Desktop is the first of three posts that I will walk-through and demonstrate. I personally have never used Github for Desktop but I know a few people that do. The primary reasons I never used it are twofold: (1.) by default the repositories are public and (2.) I was too cheap to pay for the private repositories.

As I mentioned and in way of review, I am going to share how to use Git with 3 different methods:

  1. Github Desktop
  2. Bitbucket's SourceTree
  3. TortoiseGit

Summary

To use Github for Deskotp, we will take these steps:

  1. Install Github for Desktop
  2. Setup Github for Desktop
  3. Create the Github Repository (Repo)
  4. Add WordPress
  5. Remove Default WordPress Themes (this step is only for Genesis developers)
  6. Add Genesis & Genesis Sample to the Github Repo
  7. Begin Development with Git
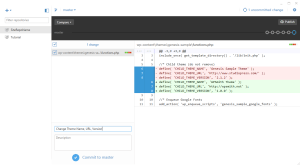
    1. Change Genesis Constants (functions.php)
    2. Publish Github Repo
    3. Change Theme Details (style.css)
    4. Sync Github Repo
  8. Reverting with Github
Using Github for Desktop

1. Install Github for Desktop

To install Github for desktop, download the installation file from Github. On the Security Warning, click Install. This will download the full installation file and install the program.

Install Github
Install Github

After installing the program, you will need to setup Github for Desktop.

2. Setup Github for Desktop

To setup Github for Desktop, you first need to enter your Github credentials. If you have not already, create a Github account. Even if you do not plan to use Github for your site development, it is good to have a Github account for entering issues with plugins and various other libraries and repositories that you may use. If you already have a Github account, skip to Step 2.3: Complete Setup.

Setup Github for Desktop

2.1 Create Github Account

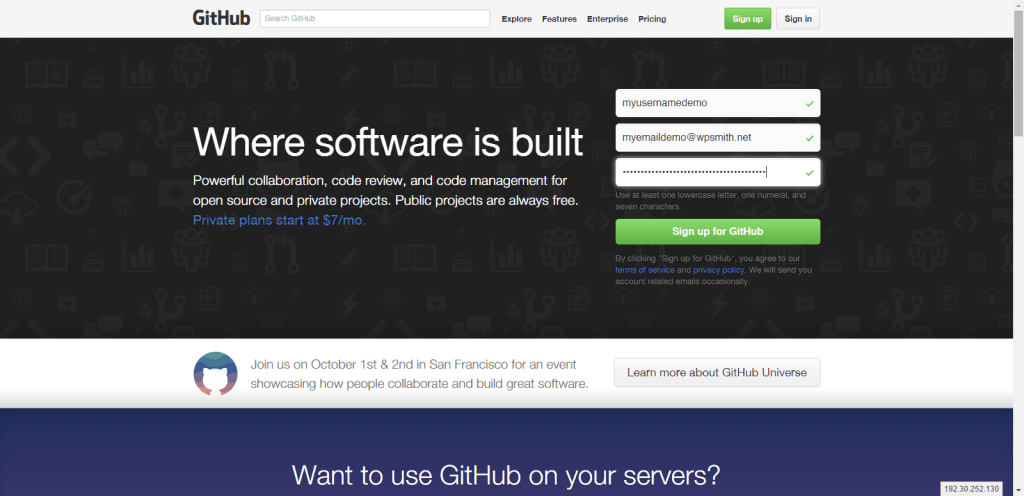
To create a Github account, go to Github:

  1. Enter a username
  2. Enter your email
  3. Create your password
  4. Click Sign up for Github

Create Github Account

2.2 Select Plan

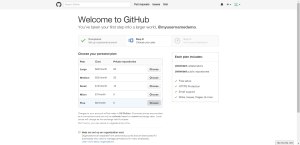
After the intial form, you will be asked to select a plan. If you want to use the free plan, just click on Finish sign up.

Create Github Account

2.3 Complete Setup

The first time you run Github, you will need to setup Github for Desktop.

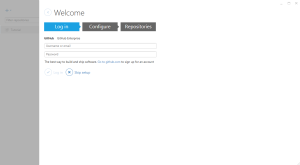
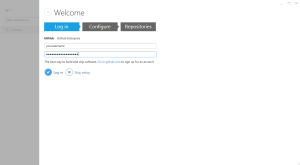
  1. Login: To create the Github repo, enter your Github account information and click on Log in.
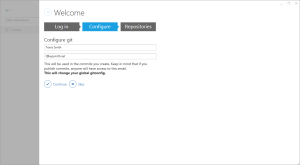
  2. Configure: Here you will enter your name (public) and email (public) and click on Continue.
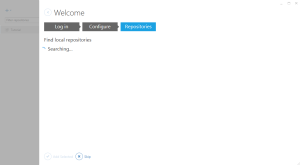
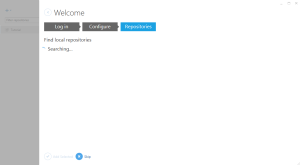
  3. Then it will search for your repositories. Either wait for it or click on Skip, which is what I did.

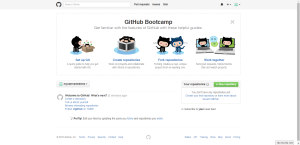
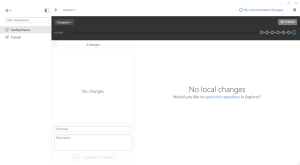
Then you will be brought to the tutorial screen, and now you are ready to create the Github Repository.

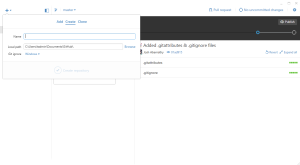
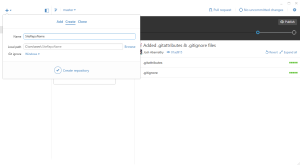
3. Create the Github Repository (Repo)

Create Github Repo
Create Github Repo
Create Github Repo
Create Github Repo
Create Github Repo

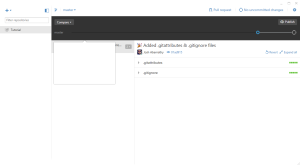
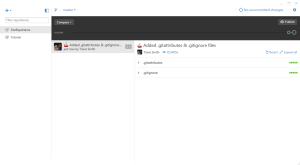
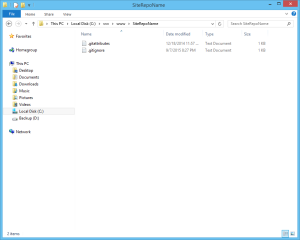
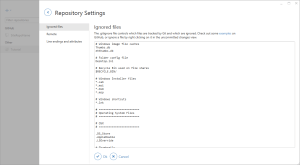
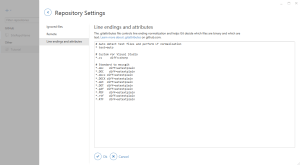
This will create .gitattributes (which you should not worry about at this time) and .gitignore.

# Windows image file caches
Thumbs.db
ehthumbs.db
# Folder config file
Desktop.ini
# Recycle Bin used on file shares
$RECYCLE.BIN/
# Windows Installer files
*.cab
*.msi
*.msm
*.msp
# Windows shortcuts
*.lnk
# =========================
# Operating System Files
# =========================
# OSX
# =========================
.DS_Store
.AppleDouble
.LSOverride
# Thumbnails
._*
# Files that might appear on external disk
.Spotlight-V100
.Trashes
# Directories potentially created on remote AFP share
.AppleDB
.AppleDesktop
Network Trash Folder
Temporary Items
.apdisk
view raw .gitignore hosted with ❤ by GitHub

If you would like, please feel free to replace/merge the .gitignore with one of the WordPress .gitignore files (.gitignore versions WordPress, .gitignore does not versions WordPress)).
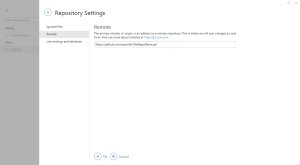
Github Repository Settings

4. Add WordPress to the Github Repo

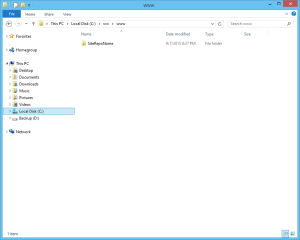
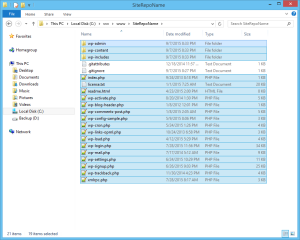
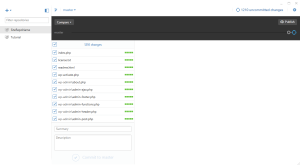
Next you would either clone WordPress from Github, download it from WordPress.org, check it out of the WordPress SVN, or ideally use your own copy with your default themes and plugins already packaged with it.

Add WordPress
Add WordPress
Add WordPress

These next two steps are for Genesis developers specifically where we will remove the default WordPress themes and add the Genesis themes.

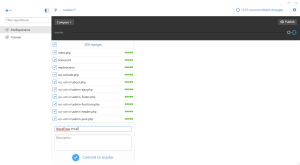
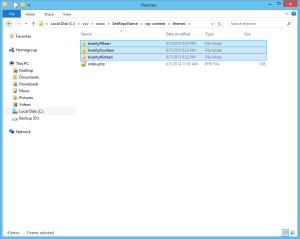
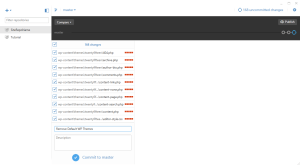
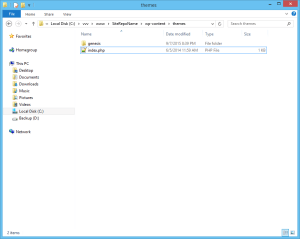
5. Remove the Default WP Themes from the Github Repo

If you do not have a pre-packaged WordPress with Genesis and your child theme, then you will want to remove the WordPress default themes.

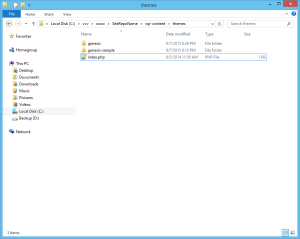
Remove Default WP Themes

6. Add Genesis & Genesis Sample to the Github Repo

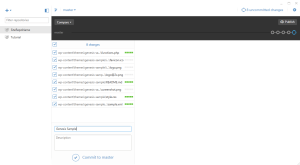
Next we want to add our Genesis theme and our default Genesis child theme, in this case, the Genesis Sample.

Add Genesis & Genesis Sample

7. Begin Development

Now, we are ready to begin development. To begin with, we have this functions.php file.

<?php
//* Start the engine
include_once( get_template_directory() . '/lib/init.php' );
//* Child theme (do not remove)
define( 'CHILD_THEME_NAME', 'Genesis Sample Theme' );
define( 'CHILD_THEME_URL', 'http://www.studiopress.com/' );
define( 'CHILD_THEME_VERSION', '2.1.2' );
//* Enqueue Google Fonts
add_action( 'wp_enqueue_scripts', 'genesis_sample_google_fonts' );
function genesis_sample_google_fonts() {
wp_enqueue_style( 'google-fonts', '//fonts.googleapis.com/css?family=Lato:300,400,700', array(), CHILD_THEME_VERSION );
}
//* Add HTML5 markup structure
add_theme_support( 'html5', array( 'search-form', 'comment-form', 'comment-list' ) );
//* Add viewport meta tag for mobile browsers
add_theme_support( 'genesis-responsive-viewport' );
//* Add support for custom background
add_theme_support( 'custom-background' );
//* Add support for 3-column footer widgets
add_theme_support( 'genesis-footer-widgets', 3 );
view raw functions1.php hosted with ❤ by GitHub

Now, we want to make a few modifications:

7.1 Change Genesis Constants

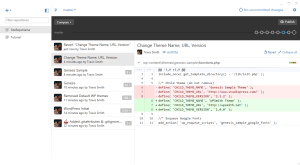
The first thing I usually do is change my constants.

//* Child theme (do not remove)
define( 'CHILD_THEME_NAME', 'WPSmith Theme' );
define( 'CHILD_THEME_URL', 'http://wpsmith.net' );
define( 'CHILD_THEME_VERSION', '1.0.0' );

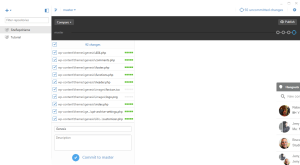
Git Development
Git Development
Git Development

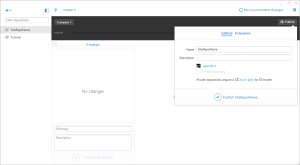
7.2 Publish the Github Repo

This is usually when I would publish the repository with Github. Now publishing the git repository in Github only creates the repository. It does not push the existing files or commits. This can be done earlier, but I tend to hold this off until this point. Sometimes I would do it before the Genesis constants change, sometimes much after. It really depends on you.

Publish Github Repository

7.3 Change style.css

Next, I change my style.css to match. At first, I have this with my CSS:

/* # Genesis Sample Child Theme
Theme Name: Genesis Sample Theme
Theme URI: http://my.studiopress.com/themes/genesis/
Description: This is the sample theme created for the Genesis Framework.
Author: StudioPress
Author URI: http://www.studiopress.com/
Template: genesis
Template Version: 2.1.2
Tags: black, orange, white, one-column, two-columns, three-columns, left-sidebar, right-sidebar, responsive-layout, custom-menu, full-width-template, rtl-language-support, sticky-post, theme-options, threaded-comments, translation-ready
License: GPL-2.0+
License URI: http://www.gnu.org/licenses/gpl-2.0.html
*/

After personalizing style.css, I now have this:

/* # WP Smith
Theme Name: WP Smith
Theme URI: http://wpsmith.net/
Description: Sample Child Theme Git Process.
Author: WP Smith
Author URI: http://wpsmith.net/
Template: genesis
Template Version: 1.0.0
Tags: black, orange, white, one-column, two-columns, three-columns, left-sidebar, right-sidebar, responsive-layout, custom-menu, full-width-template, rtl-language-support, sticky-post, theme-options, threaded-comments, translation-ready
License: GPL-2.0+
License URI: http://www.gnu.org/licenses/gpl-2.0.html
*/

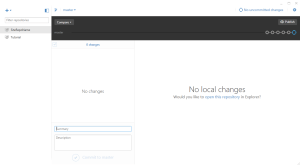
7.4 Sync the Github Repo

Then, I commit those changes and sync the repository.

Publish Github Repository

So now you should be familiar with basic Github for Desktop usage. Next, I will briefly show how to revert files.

Reverting with Github
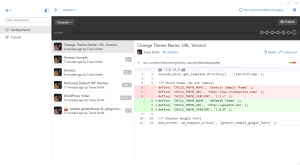
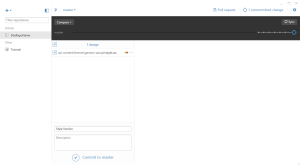
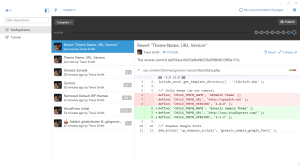
Here is how you can revert changes and track those changes with Git commits. Click on the Revert at the top right.

Revert Git Changes with Commit

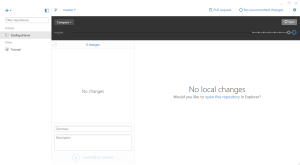
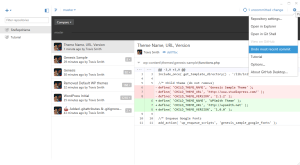
Here is how you can revert changes and not track those changes with Git. Click the gear/cog icon at the top right and click on "Undo most recent commit"

Revert Git Changes
Revert Git Changes

Conclusion

We have reviewed general usage of Github for Desktop. For your convenience, this is what we covered:

  1. Install Github for Desktop
  2. Setup Github for Desktop
  3. Create the Github Repository (Repo)
  4. Add WordPress
  5. Remove Default WordPress Themes (this step is only for Genesis developers)
  6. Add Genesis & Genesis Sample to the Github Repo
  7. Begin Development with Git
    1. Change Genesis Constants (functions.php)
    2. Publish Github Repo
    3. Change Theme Details (style.css)
    4. Sync Github Repo
  8. Reverting with Github
Written by Travis Smith · Categorized: Genesis

Sep 04 2015

My Development Workflow

Someone recently asked me what my workflow looked like on a daily basis. Instead of responding with a long comment, I wanted to write it up.
WordPress DevOps Workflow
Here is what my development workflow (AKA DevOps) looks like on a site. And this would look different based on what host I am using. For example, in my opinion there are different workflows and DevOps based on the host. Here are the various types of different workflows:

  1. WP Engine
  2. Pantheon
  3. Azure Websites
  4. VPS/Dedicated Hosting
  5. Shared Hosting

Each of these require different DevOps because each has a different implementation. For example, with WP Engine you have two (2) remote branches (production & staging) to push. With Pantheon (and MultiDev enabled), you have your own branch, Dev, Test, and Live. With Azure Websites, you have unlimited deployment slots which integrate fantastically with Bitbucket and Github. With VPS or Dedicated Server hosting, you could have root access where you can create a development user and use SSH/WP-CLI and Git for development. With Shared Hosting, you usually have jailed access, which causes some consternation. However, there are some workarounds. With the later two, I typically will use DeployHQ or something similar to deploy my Git changes.

If you are a WordPress development company, I highly recommend WP Engine first. Otherwise, if you are a web development company, whether you use Drupal, WordPress, or Joomla, I recommend Pantheon as an agency. Both of these companies take great care into DevOps. Now, if you have someone who insists on the Microsoft stack, I do recommend Azure or Rackspace. However, Azure PaaS has phenomenal DevOps, second to none really.

The Setup

Since all these are different and I have been writing about how I created my site, I am going to share how I use Version Control with WP Engine. Assuming that the person has either their own WP Engine account (and I do not recommend using your own account for a variety of reasons), the fun starts! In the WordPress dashboard, go ahead and create the staging site. This will ensure that you have both a staging and production sites.

Next, in my Vagrant installation, I provision a local WP installation using VV via Git Bash (Git for Windows). I have made some changes to my VV (which I need to update my Github to demonstrate) which allows for setting defaults via one's SSH profile. Since I am a Genesis developer, my basic site has my Genesis Child Theme skeleton (called Arche), Genesis, and these plugins: Akismet (already installed for you), Gravity Forms, BackupBuddy, Soliloquy, DB Sync, Genesis Shortcodes, Jetpack, WordPress SEO (AKA Yoast SEO), and my development framework as a Must Use (wp-content/mu-plugins). I will be writing more about my development framework in the weeks to come. For anyone that does not use Vagrant there are a variety of options to use like Desktop Server.
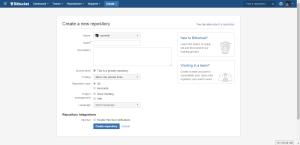
While the local vagrant site is provisioning, I create a repository with Bitbucket.
create-a-repository-bitbucket
The reason I use Bitbucket is that it allows a free private account up to 5 members on a team. If you need, create new accounts for each client and add yourself as the primary team member and administrator.

Generally, then I have my environment setup. As a way of summary, here are the steps we have already taken:

  1. Create WP Engine account.
  2. Create WP Engine staging site from WordPress dashboard
  3. Create local development site
  4. Create Bitbucket repository

Next, I complete the setup of my local site.

  1. Initialize Git repository.
  2. Add Bitbucket remote repository (called origin)
  3. Add WP Engine staging remote repository (called staging)
  4. Add WP Engine production remote repository (called production)
  5. Check my Git profile to ensure that my email and key are autoloading
  6. Add my .gitignore. I always include my .gitignore that versions WordPress (here's a .gitignore that does not).
  7. Make my initial commit
  8. Setup PHPStorm & my GruntFile/GulpFile.

(Please note that in my vagrant auto site creation, I have automated the above. The name of the site [e.g., {SiteName}] also sets the Bitbucket repository (https://bitbucket.org/{YourUserName}/{SiteName}) and automatically adds all the remotes [WP Engine Remote ([email protected]:production/{WPE-SiteSlug}.git)].)

Now, I am ready to write code.

The Workflow

Now that everything is set up, I get to work. I am going to speak very generally here because I have a post coming next week that explains this in more detail. (When I am developing alone, I tend to take some shortcuts unless I am developing on a high traffic site. So I am going to assume the high traffic site.)

At first, I will develop directly on the staging branch until I get to my first milestone or place where I allow the client to begin looking and reviewing the site. Once at that place, I begin feature development. I checkout a new branch, develop until the feature is complete, then merge that branch into my staging branch for review by the client. For example, let's assume that I have the site's home page, blog page, and basic inner pages complete. Now I need to add some sort of e-commerce, CRM integration, etc. Whatever feature I am working on, I create a new branch to create that feature.

As I develop, I commit on "minor" changes commenting on everything (though Nathan Rice and Gary Jones have often gotten on me for creating commits that are too large). So for example, in functions.php:

add_theme_support( 'genesis-menus', array(
'primary' => __( 'Primary Navigation', CHILD_DOMAIN ),
'footer' => __( 'Footer Navigation', CHILD_DOMAIN ),
) );
view raw functions.php hosted with ❤ by GitHub
I commit with a message like: "Add Genesis menus theme support". And so on. I keep my messages quite short so as not to slow down. Now, I will often make several local commits before pushing to origin and/or staging remotes.

When there are more than one people committing, there are extra steps of fetching and pulling to keep in sync with everyone. So then it looks more like this:

  1. Fetch
  2. Pull
  3. Merge locally
  4. Push origin
  5. Commit...commit...commit...
  6. Push origin
  7. Push staging

When doing feature development, it looks more like this:

  1. Fetch & Pull
  2. Merge locally
  3. Push origin
  4. Checkout new branch (e.g. feature-branch)
  5. Commit...commit...commit...
  6. Push origin
  7. Checkout staging
  8. Fetch & Pull
  9. Push origin
  10. Merge feature-branch into local staging branch
  11. Push origin
  12. Push staging

That seems like a lot of steps, but when compared to the alternative of using backups and FTP, I prefer it! You also can create .bashprofile aliases where some of these steps are combined into one step. And if you want, you can drop the origin (Bitbucket) part that I have when using WP Engine or Pantheon. I include this for my benefit and the client's benefit, which I explained in my last post, My Genesis Site: Using Version Control.

And finally, I am always asking others what they do, how they develop, and what their workflow and DevOps looks like. What does yours look like? What do you do that is different? How would you improve my workflow?

Written by Travis Smith · Categorized: Genesis · Tagged: My Genesis Site

Sep 03 2015

Using Version Control

Recently, I have had multiple discussions with developers who only use FTP for development. One agency told me that they even use FTP for development with multiple developers. This completely shocked me!

I use version control on every site, theme, or plugin I develop. You may believe it is overkill but I cannot express how many times this has saved me and even my clients. 

So why do I use version control? There are six basic reasons why I use version control.
Version Control by Sean MacEntee via Flickrmistakes

  1. Mistakes. I make mistakes. Everyone makes mistakes. It is human nature. Not planning for those mistakes is planning for failure or lost information, lost time and lost money. 
  2. Offsite Backup. With each site, theme, or plugin I develop, I push my versions offsite to either Github, Bitbucket, TFS, VisualStudio Online, a private Git server, etc. This alone has proven invaluable numerous times whether it was my machine that stopped working from dying of old age or hit by a car or drop kicked or some other catastrophic event, or Act of God. All I have to do is clone or checkout the code and keep on going. 
  3. Version Control Backups

  4. Multiple Development & Collaboration. Using version control is the only way to do collaborative and team development. I have no idea how this used to be done and how many people have suffered the fate of their work being completely over-written with no recourse. Version control allows for multiple people to work on the same file and not cause each other's code to be completely erased. It does not guarantee that the code won't be in conflict and cause some merging work, but I definitely prefer that over completely re-doing everything because Bob over-wrote my file. 
  5. File Maintenance. Remember the days where the files were named functions1.php, functions2.php, functions-old.php, or functions-bob.php as a way of version control. This is not what I mean at all. Instead true version control allows for me to always have functions.php with a variety of comments and messages about each version. 
  6. Version Control Files

  7. Client-Focused. Using version control considers the clients needs before your own. It helps the client be able to switch developers easily. While this may cause you some irritation, the simple thought and even courage to use version control lets your client know that you value them. Also recently, one of my very first clients lost everything because they forgot to renew their domain and host. Since I was able to retrieve the site from my version control and quickly spin up an older version, I locked a client for life and made some extra free monies. 
  8. Future-Oriented. Ever wrote a file, plugin or theme thinking that you will remember what you did and then a month later come back asking yourself, "Who wrote this!? This is aweful." Hopefully the code has comments to help you navigate what is happening without thinking. But if there isn't and if the code is under version control, you could optionally read the commit/change log and get an idea of what is happening. 

If you are not convinced and want to tell me not to use Git, maybe Matthew McCullough would agree?

And for those who believe using version control is akin to reading the matrix, here is a quick video about version control for designers:

Written by Travis Smith · Categorized: Genesis · Tagged: My Genesis Site

Aug 31 2015

How I Created My Genesis Site

Today I want to introduce a series where I am going to walk through how I created my site. Over this series, I am going to walk through my setup, my development processes, my theme code modifications and enhancements, and my plugins I created or used to make my Genesis website.

Setup & Technologies Utilized

In the development of my site, I used the following technologies and processes:

  1. Preferred IDE: PHPStorm
  2. Version Control: Git (Git for Windows)
  3. DevOps/Automation: Node, Bower & Grunt (though I could have easily used Gulp)
  4. DevOps/Automation: SASS (CSS pre-processing)
  5. DevOps/Automation: MySQL Workbench & DB Syncing
  6. Local Development Environment: Varying Vagrant Vagrants
  7. Hosting: WP Engine for Staging & Production via Git Deploy

Do not let this list overwhelm or intimidate you! For Node, Grunt, Bower, SASS, and MySQL Workbench, these are things all developers can learn if they want, and I am going to give you an easy way to get up and running fairly quickly.

Theme

My site is built on the Genesis Framework. Typically I start with my own vanilla child theme to create a website so to make sure I have no unnecessary overhead and bloat. This time, I started with Altitude Child Theme but did some work under the hood to extend its features. These customizations include:

  • Unlimited Front Page Sections: By default, Altitude only allows for seven (7) sections. At one point, I wanted to do nine (9) or ten (10), so I extended this to be able to change my mind easily and often.
  • Filterable Background Image Sections: By default, Altitude allows you to customize this via a filter (altitude_images), which is awesome! Being lazy, I wanted a single line of code to change this. So I switched the functionality to use add_theme_support.
  • Icon Fonts: I love icon fonts like Font Awesome, so I added it to my child theme.
  • Different Primary Menus: For user experience, I wanted the home page menu to use single page navigation via anchors, but on other pages I wanted to go to the actual page or post instead of back to the home page. So on the home page, I display one menu and on other pages I display a different menu.
  • Optimized Script/Style Output: By default, most Genesis child themes output non-minified CSS delegating this functionality for plugins and cache. Since I already minimize my CSS, there is a simple code snippet to use for production sites to output the minified CSS file. The great thing about this is that it removes the information about the theme, which improves privacy.
  • Custom Responsive Menu: Call me vain, but I love great mobile menus. Genesis Child Themes have great mobile menus! But I found one that I simply love, so I wanted to incorporate it into my theme. I will walk through what I did and how I added it to my child theme for anyone else who wishes to do the same.

Plugins

My site features a small list of plugins, namely:

  • Akismet Anti-spam: Spam Protection (Downloaded: 0 times)
  • Display Posts – Easy lists, grids, navigation, and more (Downloaded: 0 times)
  • %%name%% (Downloaded: %%downloaded%% times)
  • Genesis Sandbox Featured Content Widget (Downloaded: 0 times)
  • Gravity Forms
  • Jetpack – WP Security, Backup, Speed, & Growth (Downloaded: 0 times)
  • Simple URLs – Link Cloaking, Product Displays, and Affiliate Link Management (Downloaded: 0 times)
  • Soliloquy
  • Soliloquy - Featured Content Addon
  • Widget Logic (Downloaded: 0 times)
  • WPS Core Functionality
  • WP Sync DB
  • Yoast SEO (Downloaded: 0 times)

Please let me know if you have noticed anything that I missed!

Written by Travis Smith · Categorized: Genesis · Tagged: My Genesis Site

Jan 21 2013

Add a Nagging Fixed Top Menu to Your Genesis Site

Recently, someone asked me to assist them with their nagging menu. Simply they wanted a menu that became fixed at the top after the user scrolled past the menu. In their case, they had a primary navigation menu at the top and then a secondary menu below the slider. So when the user scrolled past the slider to the store, the secondary menu would be fixed at the top as the user scrolled through the various store items. So I pointed them to an online tutorial by 1stwebdesigner.com (with example) that would help them get about 75% there. In some WordPress themes, this would get you all the way, but with Genesis, the JavaScript needed some massaging to be 100% correct. (NOTE: If you are reading this post on the single page, you can see this example on this page.)

The Script

First, let's review the script needed. I modified the script from 1stwebdesigner.com for Genesis themes.

jQuery(document).ready(function($) {
"use strict";
// Change #nav to #subnav for Genesis default Secondary Menu
var menu = $('#nav').find('.menu'),
pos = menu.offset();
// Add Default class
menu.addClass('default');
$(window).scroll(function(){
if($(this).scrollTop() > pos.top+menu.height() && menu.hasClass('default')){
menu.fadeOut('fast', function(){
$(this).removeClass('default').addClass('fixed').fadeIn('fast');
});
} else if($(this).scrollTop() <= pos.top && menu.hasClass('fixed')){
menu.fadeOut('fast', function(){
$(this).removeClass('fixed').addClass('default').fadeIn('fast');
});
}
});
});
view raw nagging-menu.js hosted with ❤ by GitHub

This script will make the primary menu appear at the top, but if you'd like the secondary menu to appear, then change #nav to #subnav. The rest is basic copy and paste. However, I recommend making two files: nagging-menu.js and nagging-menu.min.js.

jQuery(document).ready(function(e){"use strict";var t=e("#nav").find(".menu"),n=t.offset();t.addClass("default");e(window).scroll(function(){if(e(this).scrollTop()>n.top+t.height()&&t.hasClass("default")){t.fadeOut("fast",function(){e(this).removeClass("default").addClass("fixed").fadeIn("fast")})}else if(e(this).scrollTop()<=n.top&&t.hasClass("fixed")){t.fadeOut("fast",function(){e(this).removeClass("fixed").addClass("default").fadeIn("fast")})}})})
view raw nagging-menu.min.js hosted with ❤ by GitHub

Now, I place these two files in my js folder which is found beside my images folder in my child theme. Some people can place this within a lib (for library) or inc (for includes) folder within their child theme. Whatever you prefer, but if you change the location, be sure to change the code in functions.php (below) to match your location.

Enqueuing Script

Next, you want WordPress to enqueue the script.

<?php
add_action( 'init', 'wps_register_nagging_script' );
/**
* Register Nagging script
*
* @uses CHILD_THEME_VERSION set this via wp_get_theme()->Version
* @link https://gist.github.com/4477270 Sets Child Theme Constants via wp_get_theme()
* @link https://gist.github.com/4083811 For jQuery alternative to be placed in footer
*/
function wps_nagging_script() {
$suffix = ( WP_DEBUG || SCRIPT_DEBUG ) ? '.js' : '.min.js';
wp_enqueue_script(
'nagging-menu',
get_stylesheet_directory_uri() . '/js/nagging-menu' . $suffix,
array( 'jquery' ),
CHILD_THEME_VERSION, // I set this via wp_get_theme()->Version, @link https://gist.github.com/4477270
true
);
}
view raw functions-enqueue.php hosted with ❤ by GitHub

In this function, I have a tertiary statement determining the suffix. For those of you who don't know what that is, it is a shortcut for an if-then block. For example, instead of this:
[php]
if ( WP_DEBUG || SCRIPT_DEBUG )
$suffix = '.js';
else
$suffix = '.min.js';
[/php]

We simply can write:
[php]
$suffix = ( WP_DEBUG || SCRIPT_DEBUG ) ? '.js' : '.min.js';
[/php]

This reads: "If WP_DEBUG or SCRIPT_DEBUG is true, then assign suffix variable to '.js' else assign the suffix variable to '.min.js'." So what then are WP_DEBUG or SCRIPT_DEBUG? These are WordPress constants for debugging, which all developers regardless of skill should have on while developing a site.

So, my functions-enqueue.php code enqueues the appropriate script based on whether WordPress has been optimized for output or for debugging (nothing is worse than trying to access a JavaScript file when debugging and the JS file being minimized).

However, this function enqueues this script globally on every page. Some, however, may want to not have the script on every page, so then you would register the script and enqueue it conditionally, as below.

<?php
add_action( 'init', 'wps_register_nagging_script' );
/**
* Register Nagging script
*
* @uses CHILD_THEME_VERSION set this via wp_get_theme()->Version
* @link https://gist.github.com/4477270 Sets Child Theme Constants via wp_get_theme()
* @link https://gist.github.com/4083811 For jQuery alternative to be placed in footer
*/
function wps_register_nagging_script() {
$suffix = ( WP_DEBUG || SCRIPT_DEBUG ) ? '.js' : '.min.js';
wp_register_script(
'nagging-menu',
get_stylesheet_directory_uri() . '/js/nagging-menu' . $suffix,
array( 'jquery' ),
CHILD_THEME_VERSION, // I set this via wp_get_theme()->Version, @link https://gist.github.com/4477270
true
);
}
add_action( 'wp_enqueue_scripts', 'wps_nagging_script' );
/**
* Enqueue Nagging script if on home/archive page
*/
function wps_nagging_script() {
if ( is_home() || is_front_page() || is_archive() || is_tax() )
wp_enqueue_script( 'nagging-menu' );
}
view raw functions-register.php hosted with ❤ by GitHub

The Style

Minimally, you need this CSS to make this menu happen (though you don't really need the background possibly or the box-shadow properties).

#nav .fixed,
#subnav .fixed,
.fixed {
background: rgb(0,0,0); /* Fallback */
background: rgba(0,0,0,0.97); /* All modern browsers */
filter: progid:DXImageTransform.Microsoft.gradient(GradientType=0,startColorstr='#00000000', endColorstr='#00000000'); /* IE */
-webkit-box-shadow: 0 0 40px #222;
-moz-box-shadow: 0 0 40px #222;
box-shadow: 0 0 40px #222;
left: 0;
top: 0;
position: fixed;
width: 100%;
}
#nav .default,
#subnav .default,
.default {
}
view raw style.css hosted with ❤ by GitHub

You can do a whole lot here, just as 1stwebdesigner.com does, to fancy up the menu as it sits on top.

Written by Travis Smith · Categorized: Genesis

  • 1
  • 2
  • 3
  • …
  • 20
  • Next Page »
  • Twitter
  • Facebook
  • LinkedIn
  • Google+
  • RSS

Copyright © 2025 � WP Smith on Genesis on Genesis Framework � WordPress � Log in