
To enable Multi-Site you must have access to the core WordPress files. You must have access to your .htaccess file as well.
Next you want to open wp-config.php in your favorite text editor and find the line (probably around line 70 if you are using a text editor with line numbers) that says /* That's all, stop editing! Happy blogging. */. Above this line (so line 68-69), add define('WP_ALLOW_MULTISITE', true);.
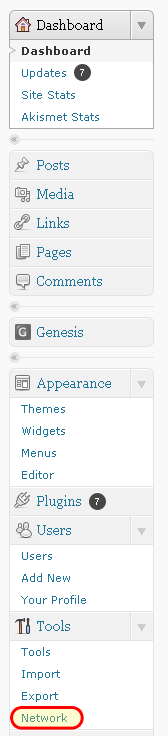
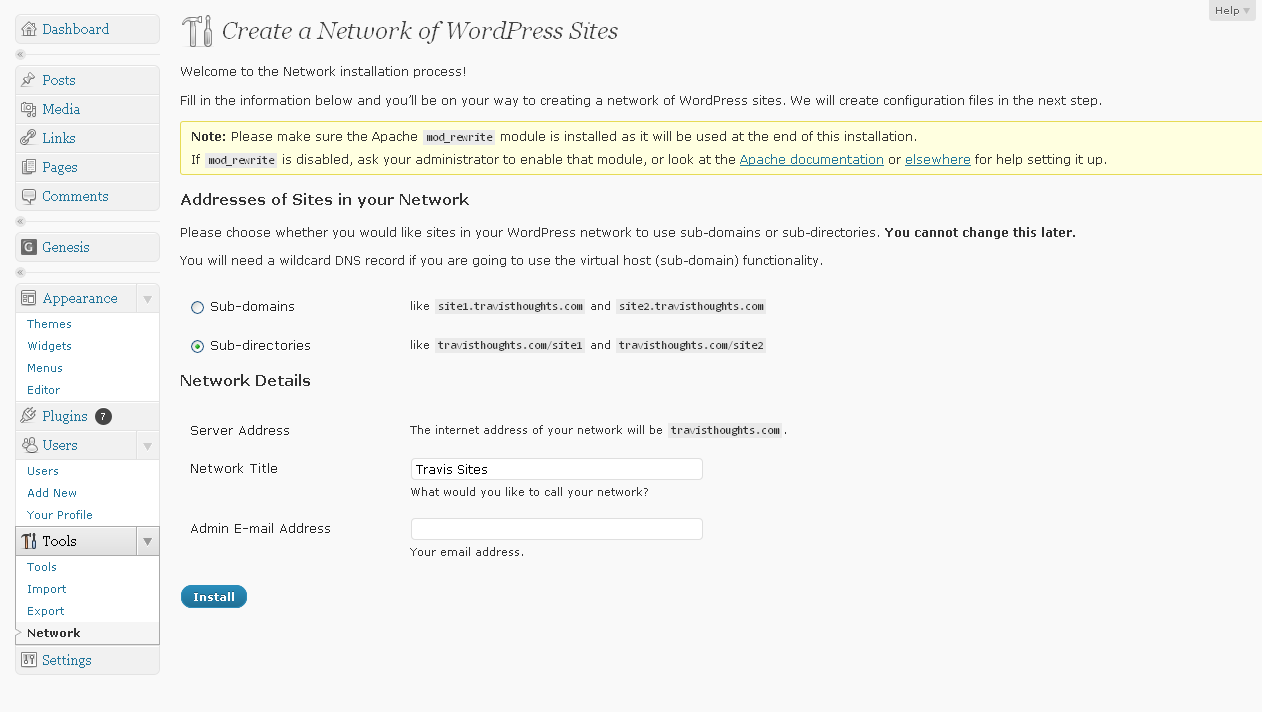
Then Network will appear under Tools. Once it appears, click on Network. This will bring up a list of instructions, including deactivating all plugins. Decide whether you want to use Sub-domains (http://subdomain.mydomain.com) or sub-directories (http://mydomain.com/subdirectory). If you wish to use sub-domains, the first thing you want to do is add a subdomain of *. So log into cpanel (or whatever you are using), click on Add Subdomains. In subdomain, enter just an * (asterisk). Be sure to set your document root correctly if you have shared hosting. Then click CREATE. Once this is complete, then click INSTALL.
Otherwise you will get this error:

Then you want to open your text editor again with a new blank document, and select SAVE AS and name it "blog.dir" (without the "" marks). Then FTP this file to your mydomain.com/wp-content directory.
Follow steps 2-3 as they are on the screen editing the wp-config.php file again. So on line 68-69 before /* That’s all, stop editing! Happy blogging. */ add the following:
[php]define( 'MULTISITE', true );
define( 'SUBDOMAIN_INSTALL', true );
$base = '/';
define( 'DOMAIN_CURRENT_SITE', 'mydomain.com' );
define( 'PATH_CURRENT_SITE', '/' );
define( 'SITE_ID_CURRENT_SITE', 1 );
define( 'BLOG_ID_CURRENT_SITE', 1 );[/php]
You will also be given unique authentication keys that you will need to add. For example:
[php]define( 'AUTH_SALT', 'I)(-Zo_@`zf4S,{,)(li~,yd$95TyX X+N#~ehC-Y;5M~:Aj||D0dYij~Xg+Q3|V' );
define( 'SECURE_AUTH_SALT', '2k_cJ?_-#q$CAXQV#rj{AT %mb}iyN#?qit,0zujTTyzx(/%kg7XS86hf26iQ0:G' );
define( 'LOGGED_IN_SALT', ';u,XF m9(_!+(##Ql@Cy}jBKdb6~3h0]5XZtcR.V[_l@.kKmFeqj:0+4@v-ZF] q' );
define( 'NONCE_SALT', '4x3!hW|;l[*1m)KP.1L&1LfRU@7yX&l62j:h&4P_PCZ4Jkh}xaqSLWhi Q1v@C9Z' );[/php]
To create your .htaccess, open a blank file in your text editor, and copy this code:
[php]RewriteEngine On
RewriteBase /
RewriteRule ^index.php$ - [L]
# uploaded files
RewriteRule ^files/(.+) wp-includes/ms-files.php?file=$1 [L]
RewriteCond %{REQUEST_FILENAME} -f [OR]
RewriteCond %{REQUEST_FILENAME} -d
RewriteRule ^ - [L]
RewriteRule . index.php [L][/php]
Then click SAVE AS and name it .htaccess (with the period in the front). Then FTP this over to your root directory where your wp-config.php file sits. Once the new wp-config.php and the .htaccess files are setup and FTPed to the site. Click Log in.
Once you log back in, you will need to set the Options page, which is another post!
